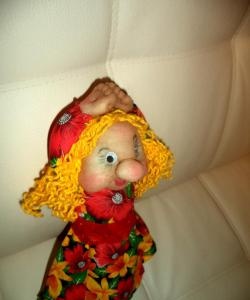
The other day, while flipping through a magazine with master classes, I came across an article on sewing an interesting doll. It looked almost natural. I had the idea to take on his work, but at the same time modify his image into a puppet one. To sew such a toy, stretchable flesh-colored fabric measuring 13-17 centimeters, scissors, internal filling - holofiber, threads in the color of the fabric, a needle and decorative details are used.
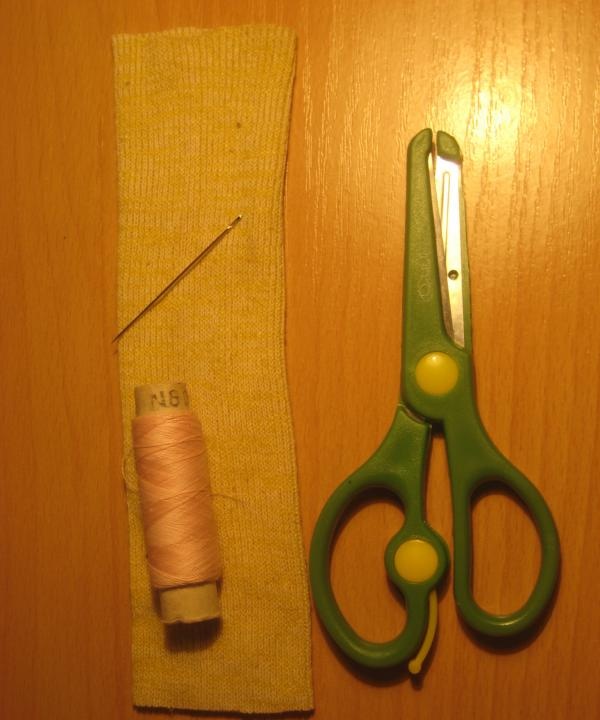
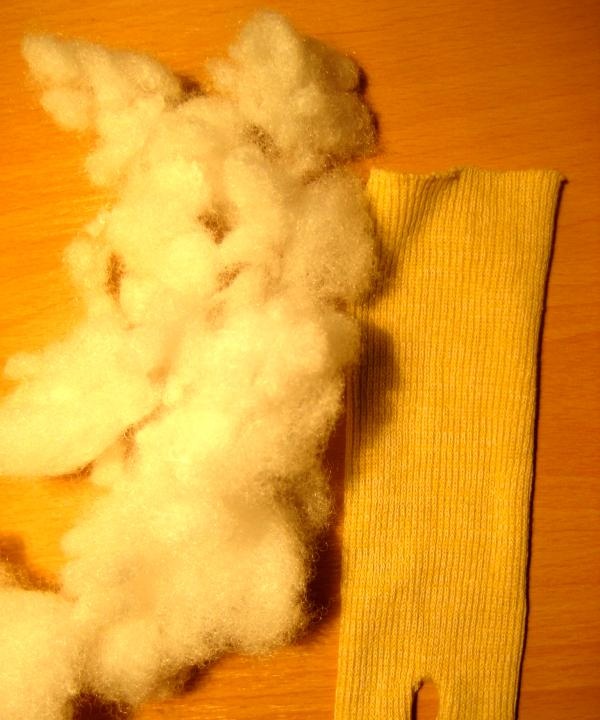
For a very long time I could not find a suitable material for the toy, so I sewed it not from knitwear, but from my daughter’s old winter tights. The material in the tights is also flesh-colored, stretches well and fills well.
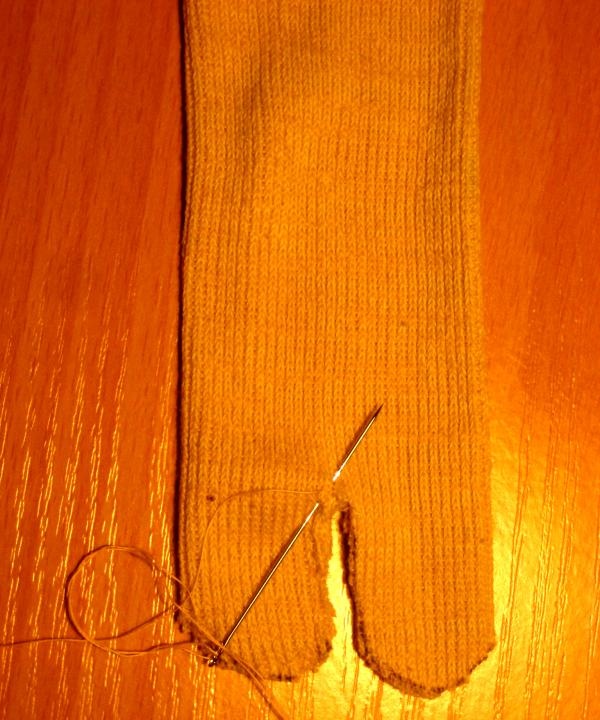
1. On one of the sides of our prepared material, draw legs with a marker, cut along the contour with scissors and sew them together.

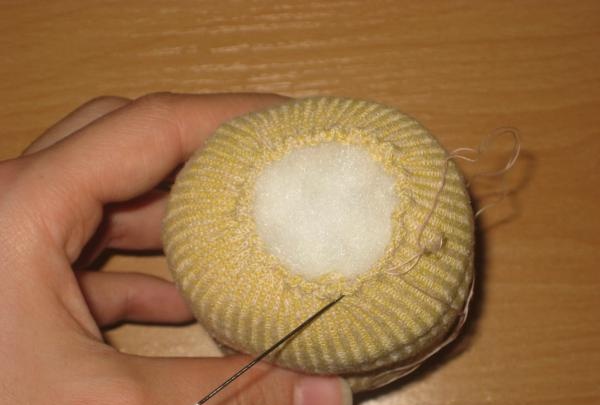
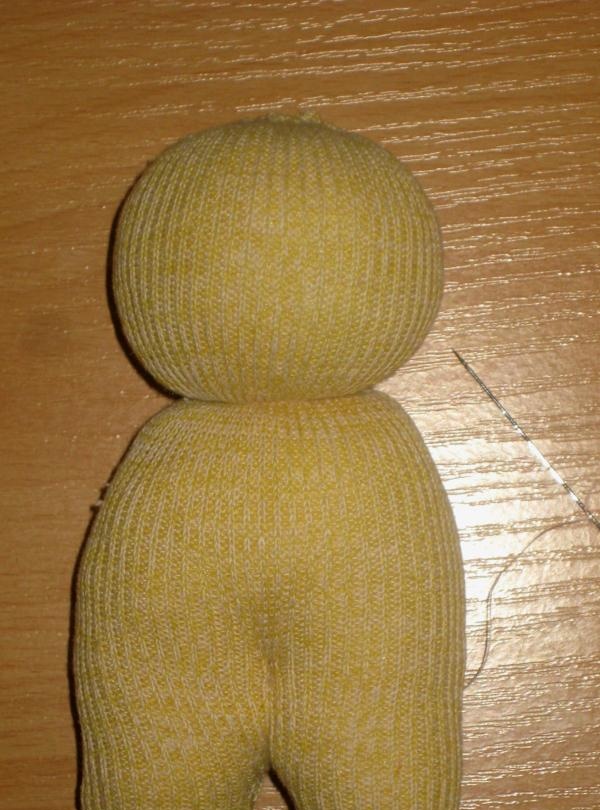
2. Next, we turn our workpiece right side out and fill it with holofiber.
3. Then we sew the remaining hole with a line stitch, but do not pull the thread all the way. You need to leave a small opening to secure the hairstyle.
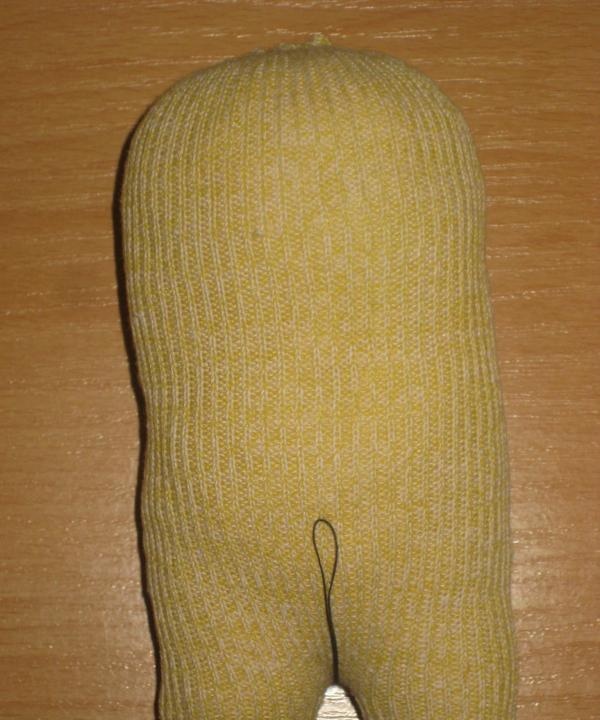
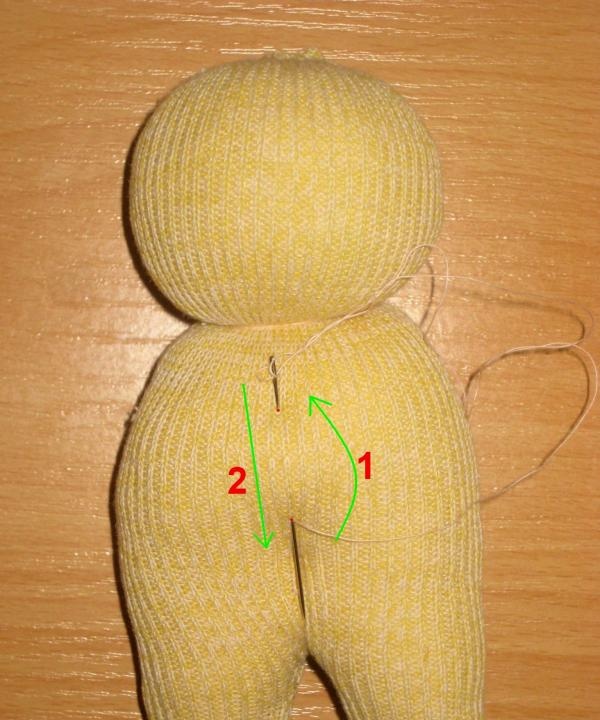
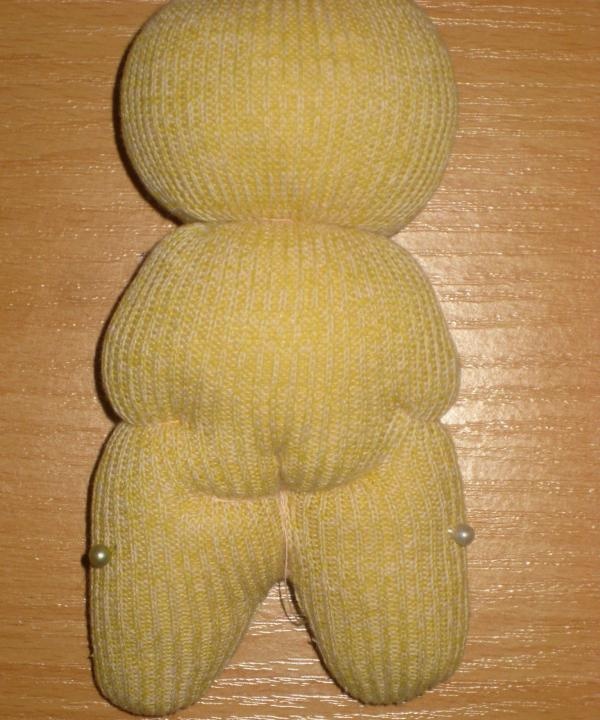
4. We make a small stitch between the legs of the filled workpiece (where the black thread lies), thereby lengthening the doll’s legs.
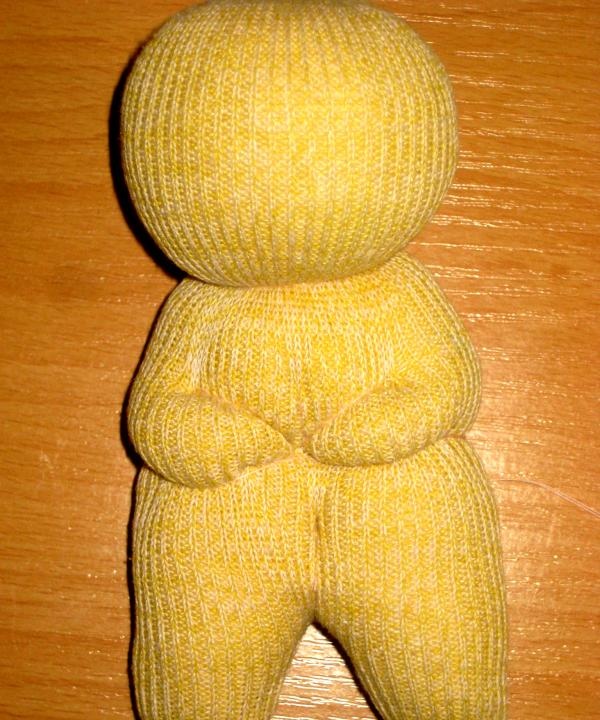
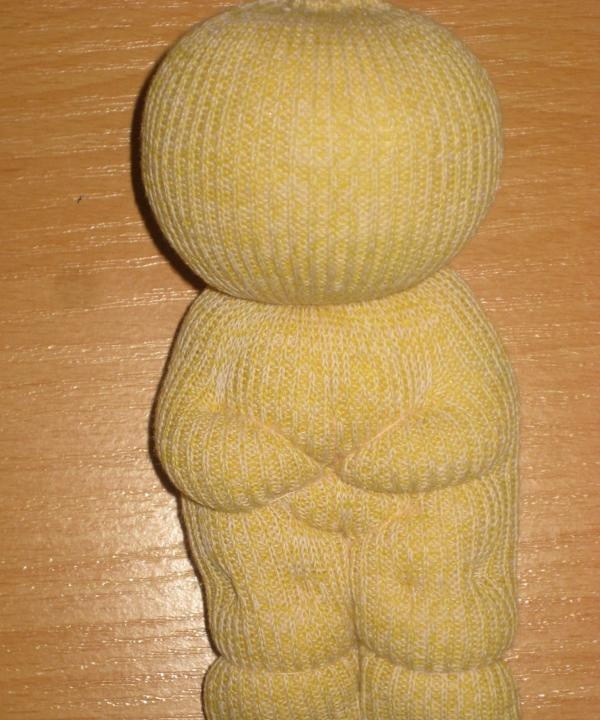
5. We form the head of the doll by pulling the thread in a certain place.
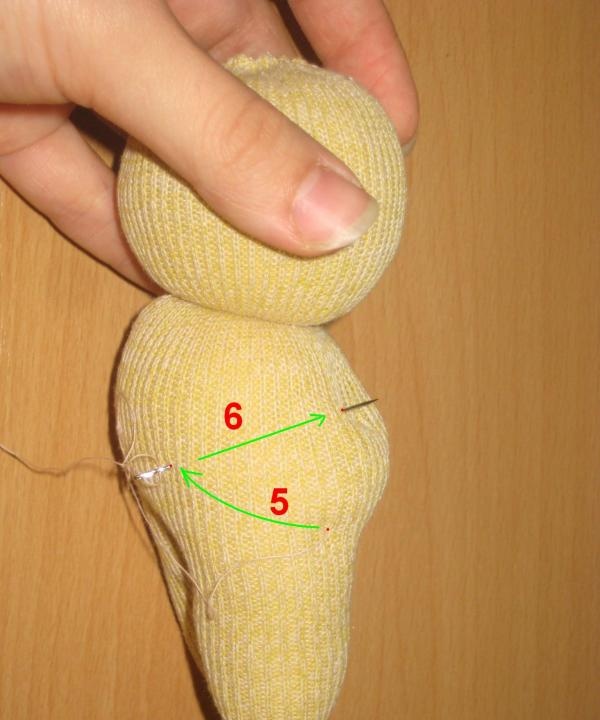
6. Now comes the hard part.We turn the doll with its front side and tighten it at chest level (these are the future doll's arms).
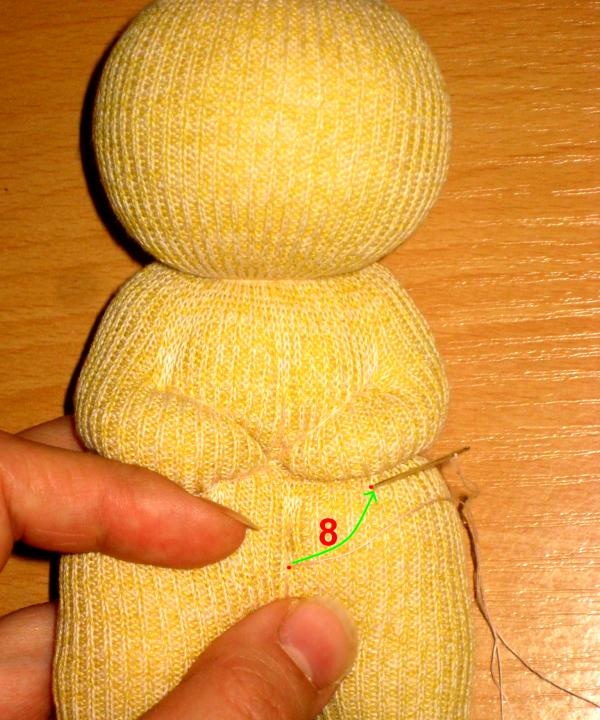
7. Fasten the thread and sew according to the pattern shown in the photographs.

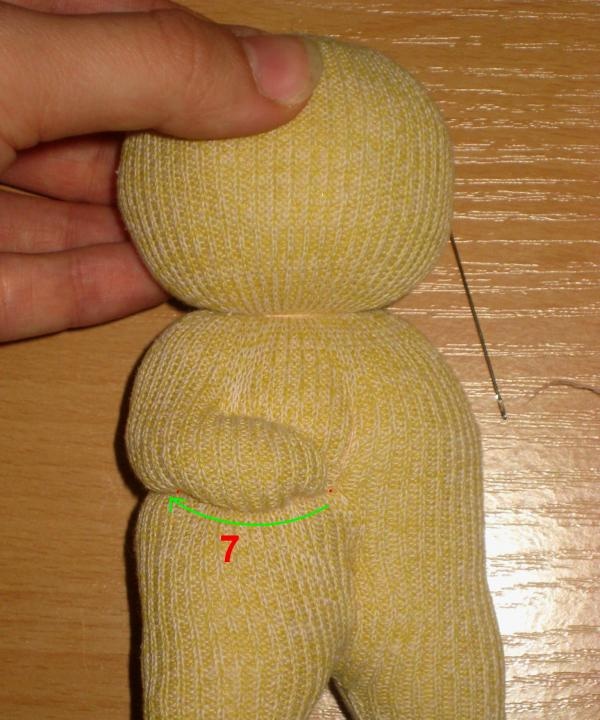
8. We sew the second handle in the same way, nothing complicated, the main thing is to understand the pattern.
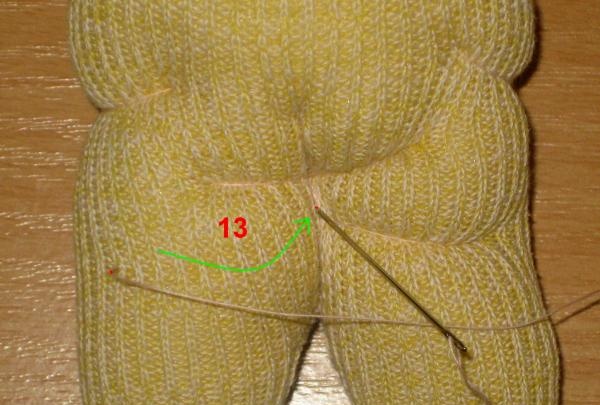
9. Then, without tearing off the thread, we bring it out between the legs and sew strictly along the points.
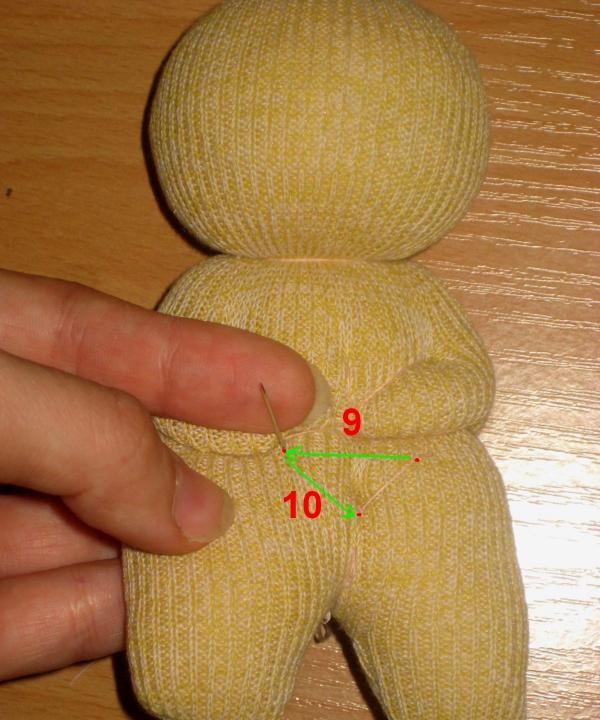
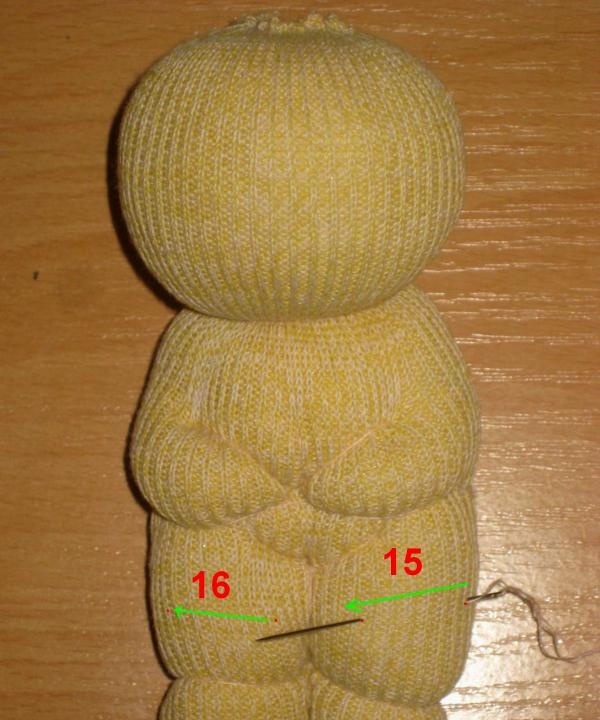
10. Now we bring the thread out at the level of the knees and make four folds on the legs, since real baby dolls also have many folds. For convenience, I marked the bends of the leg with sewing pins.
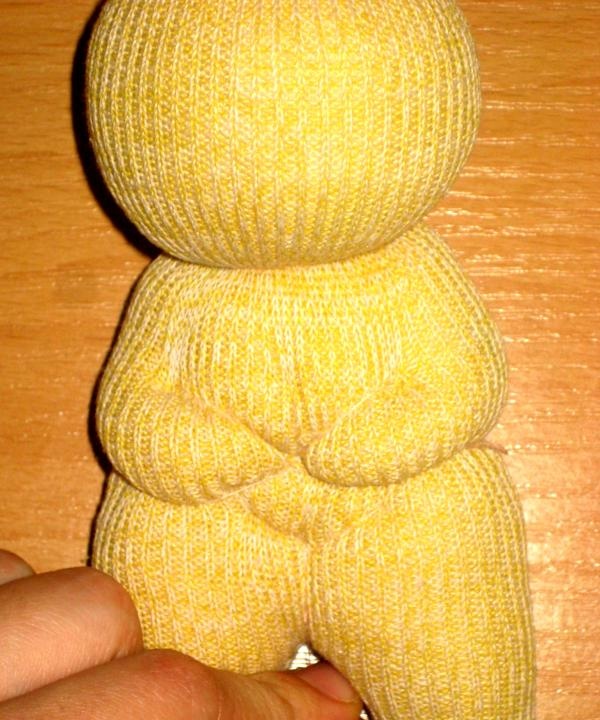
Now on the right side we place the thread on top and make a puncture at the marked points, then pull it together and secure it.

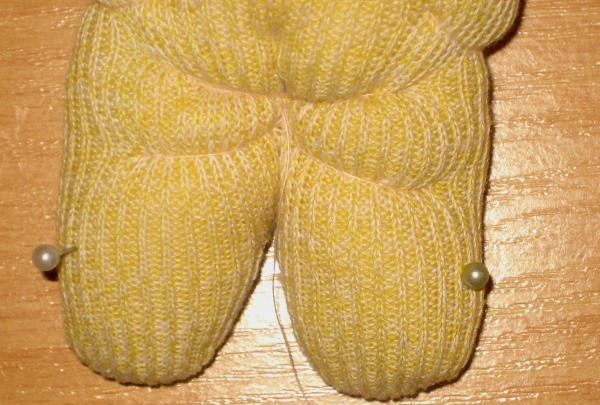
In this way, sew the second leg, as in the photo.
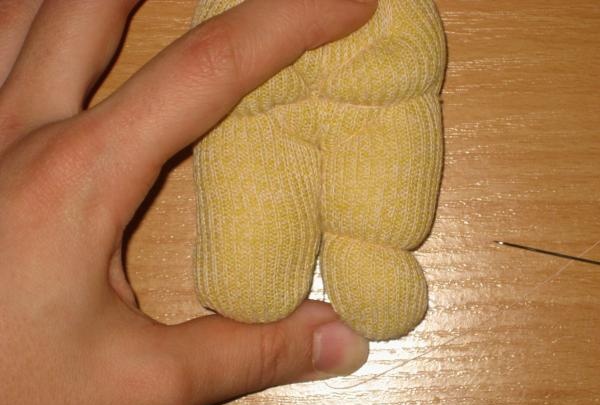
11. Now we separate the feet from the legs, marking the points with needles with ears and stitching. If desired, you can stitch each finger.
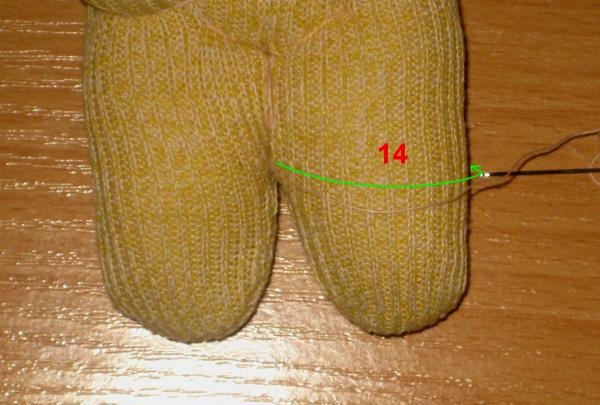
12. We stitch the doll’s knees.
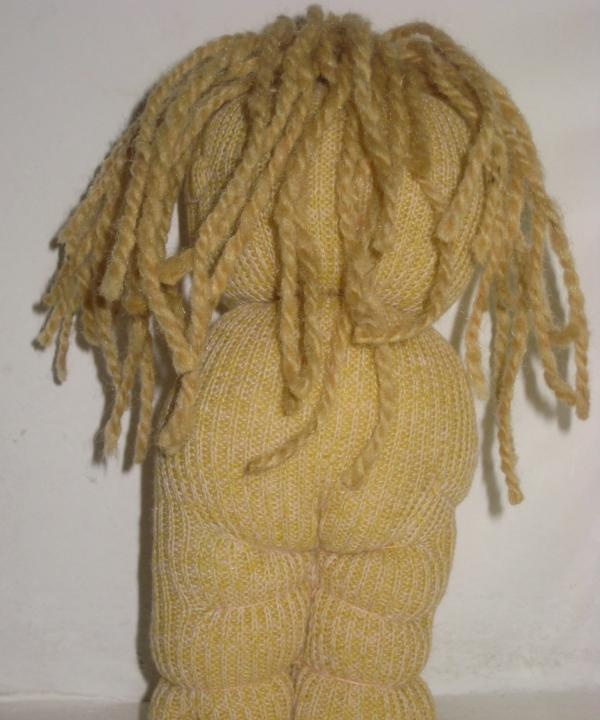
13. Insert knitting threads into the remaining holes on the head.
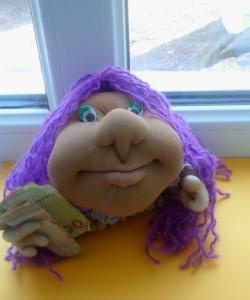
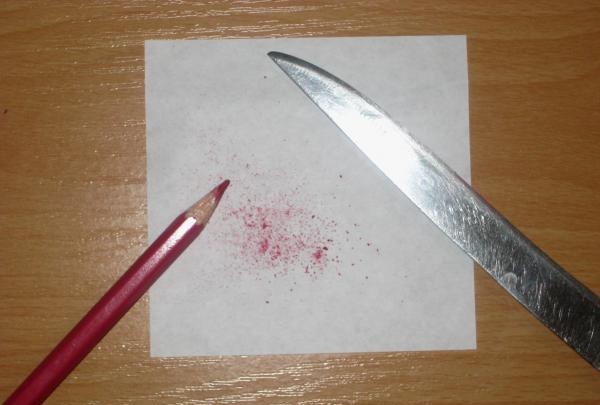
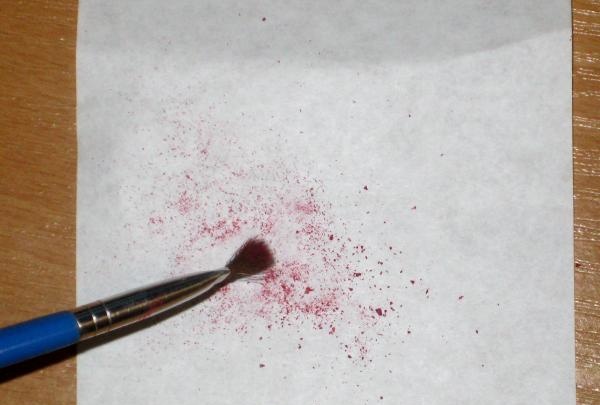
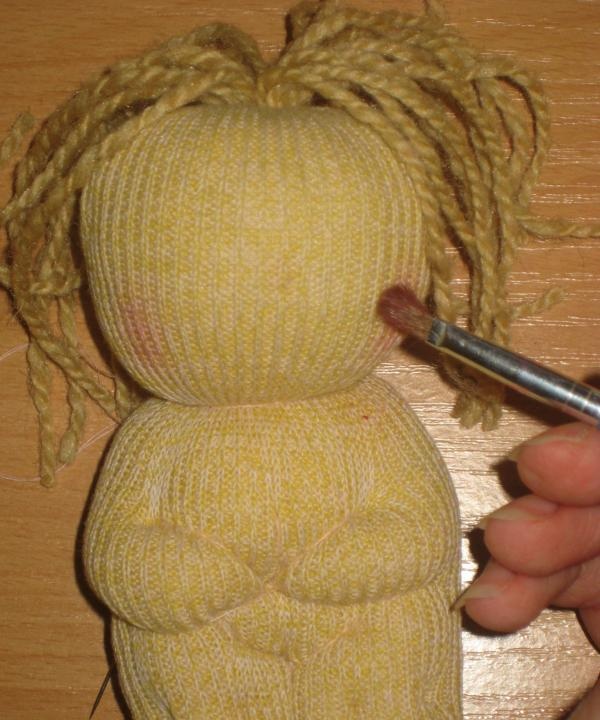
14. In order for our doll’s cheeks to be pink, you need to cut a crimson pencil with a knife. Now we collect the shavings with a brush and apply them to the cheeks of the doll.
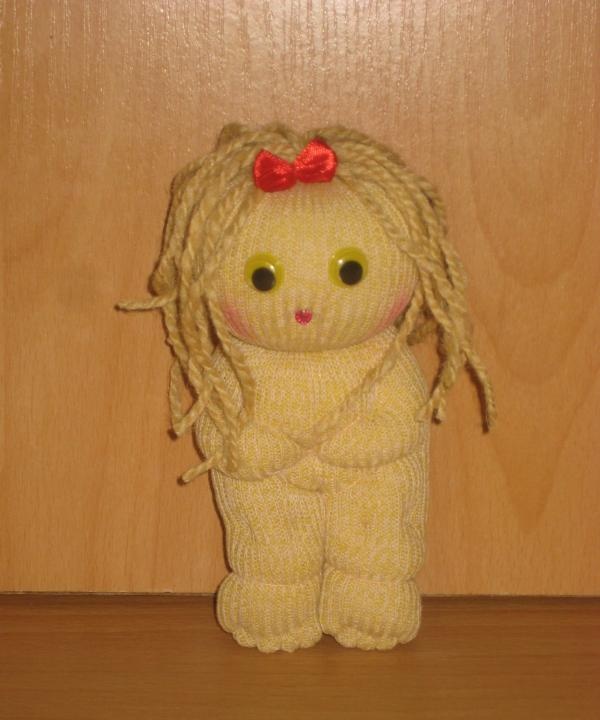
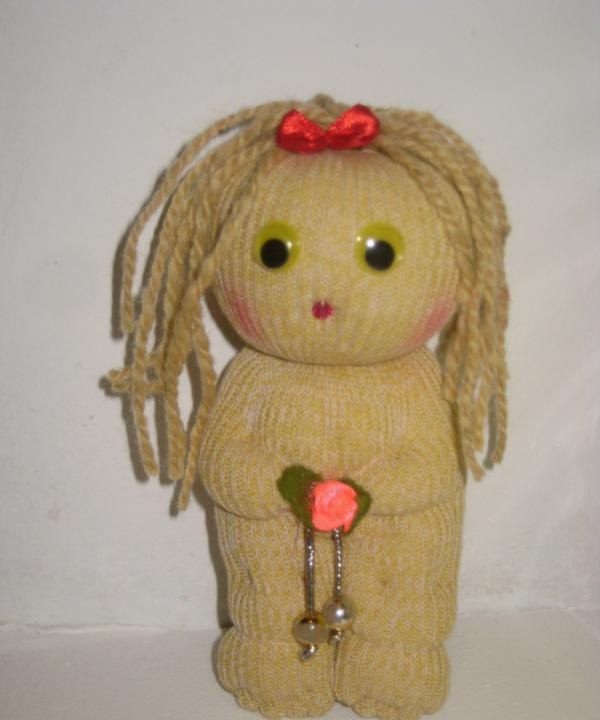
15. Glue the doll’s running eyes, sew on the mouth and decorate it at your discretion.
Helpful Tips:
1. The size of the fabric depends closely on the size of the desired toy. The greater the centimeter of the material, the larger the product.
2. Be sure to sew the toy with two threads, because with a strong tie, a single-color thread will constantly break.
3. If possible, thread the needle with a long thread, since during your work you will have to make a fairly large number of stitches.
4. Do not cut the thread after fastening, but immediately move on to the next point in the plan by pulling the thread inside the body of the toy.