Do it yourself
Life hacks, master classes, useful tips, recipes.
home » Games and toys » Stuffed Toys » DIY soft toys » Charming bear
Previously, it was planned to sew a small white bear similar to Umka, but in the midst of work, the idea changed dramatically. This toy contains two different images: Teddy Bear and Umka. From Teddy I took the image of his face, torn seams and patches, but from Umka, probably, only the white color of the fabric. It will be very beautiful if you sew this toy from artificial white fur, plush or soft fleecy fabric. Instead of eyes, sew black beads, and the nose can be sewn from a black piece of leather or use a ready-made one from a specialized store. In general, the toy can be designed according to your varied imagination.

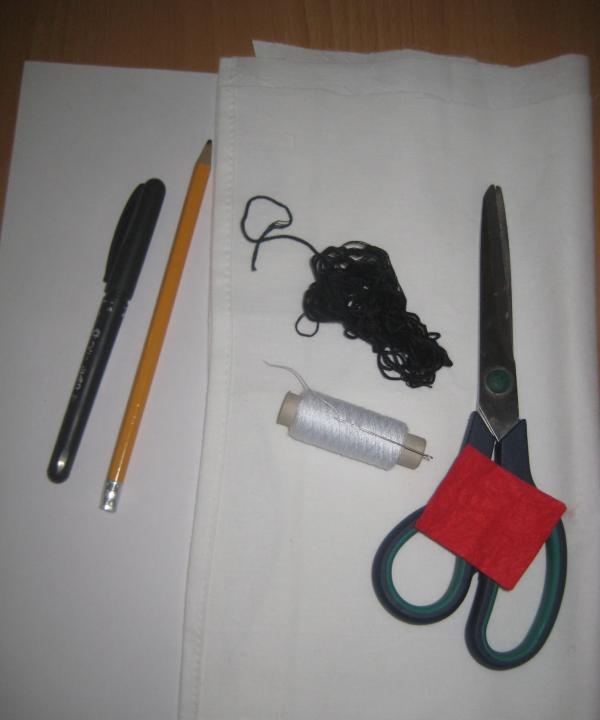
To sew a teddy bear, we need:
• Fabric size 25x25 cm;
• Toy filler;
• Needle and white thread;
• Scissors;
• Sheet A4;
• Needles with ears - 5-7 pcs.;
• Simple pencil;
• Black marker.
For decoration:
• Santa Claus hat;
• Red fabric 4×4 cm;
• Black floss.

For sewing a teddy bear


And so, let's get to work.

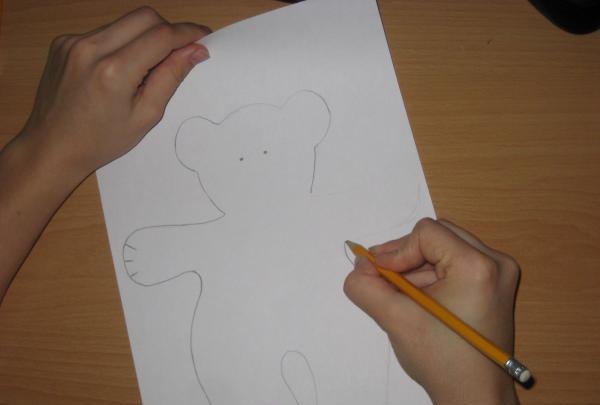
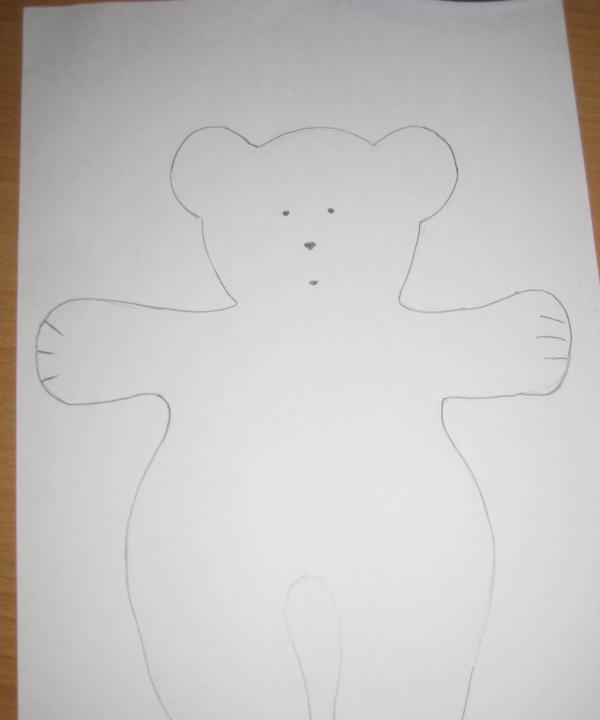
1. On an A4 sheet of paper, draw the shape of our bear with a simple pencil.

draw with a simple pencil

preparation of our bear


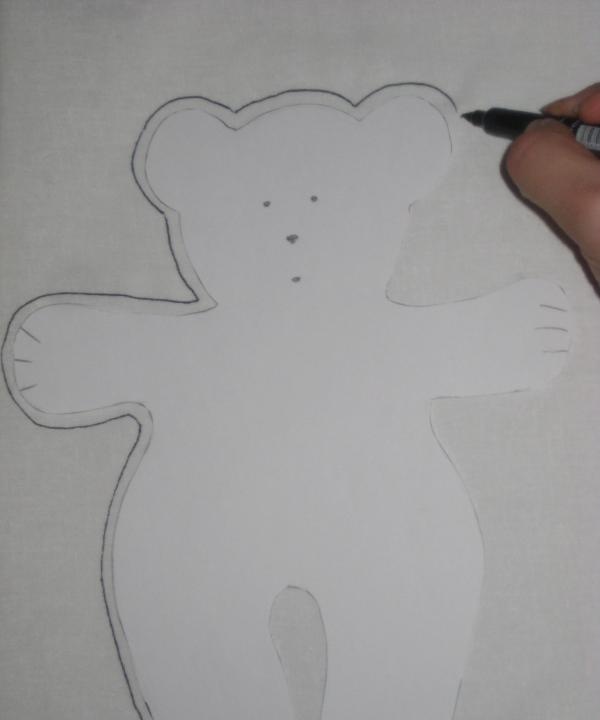
2. Cut out this pattern and apply it to the prepared fabric. In my case it is a white sheet fabric.Then, using a black marker, outline the pattern of the bear, leaving a seam allowance of approximately 5 mm.

draw a sketch of the bear


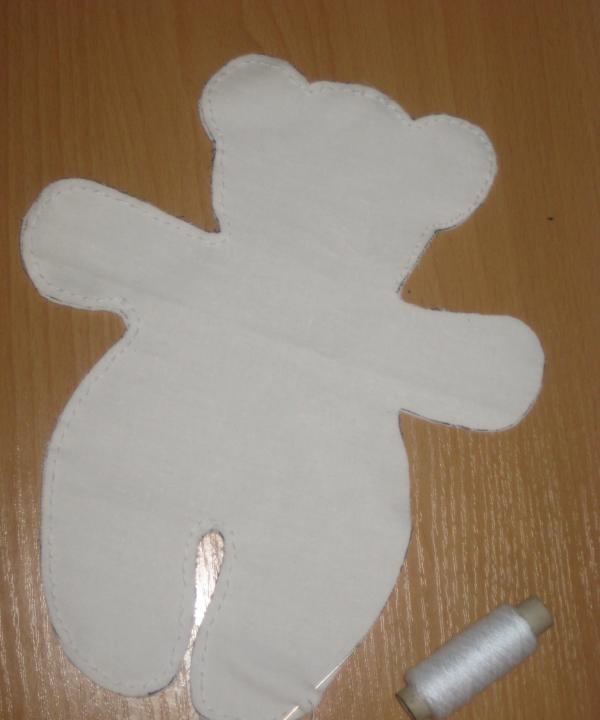
3. Now we thread needles with eyes into the stitching line.

draw a sketch of the bear


In order for the cut out two bases of the bear to be even at the joints. Next, cut out the bear strictly along the black outline.

threading needles with eyes


4. Then we machine stitch the two parts of our workpiece together.

cut out the bear


We leave a small hole on the right side so that it is convenient to fill the toy with filler.
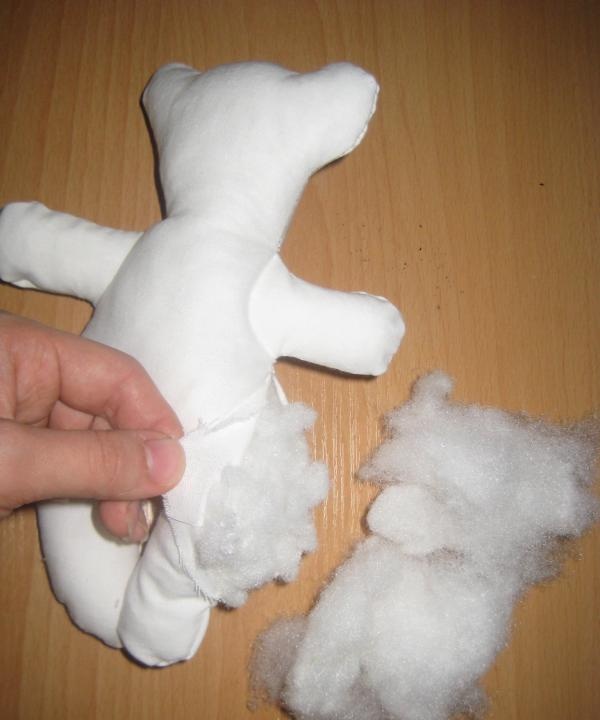
5. After this, using a regular pencil, turn the bear inside out and fill the toy with the prepared padding polyester through the hole left, distributing it evenly over all parts of the bear’s body.

sew together


Then we sew this hole with an invisible seam.

turn the bear inside out


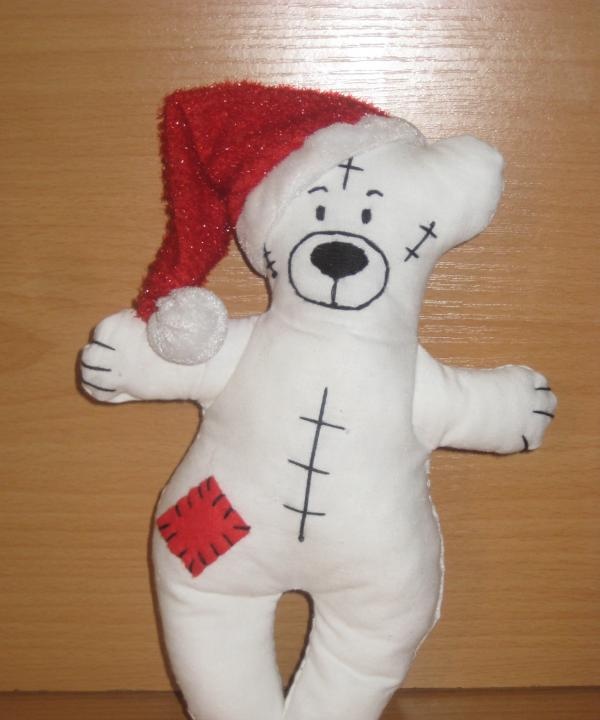
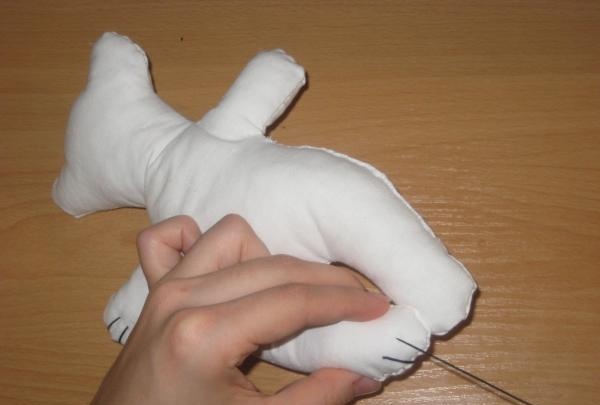
6. To make the bear’s image look clear and beautiful, highlight the paws in black. Namely, using black floss, we carefully stitch the claws on the paws. Three claws on each paw.

invisible seam


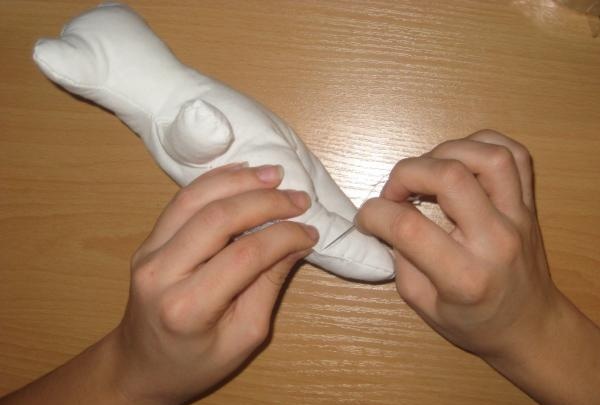
7. Now we sew a decorative ragged seam on the tummy of the toy.

stitching the claws on the paws


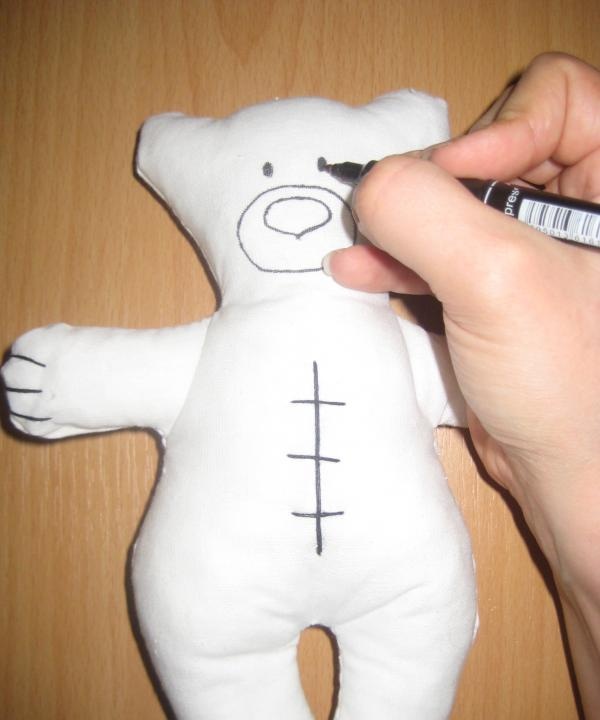
8. Then with a black marker we make marks on the bear’s face.

decorative ragged seam


We take the face of a Teddy bear as a basis. If desired, you can use decorative stones, beads or special children's devices for toys.
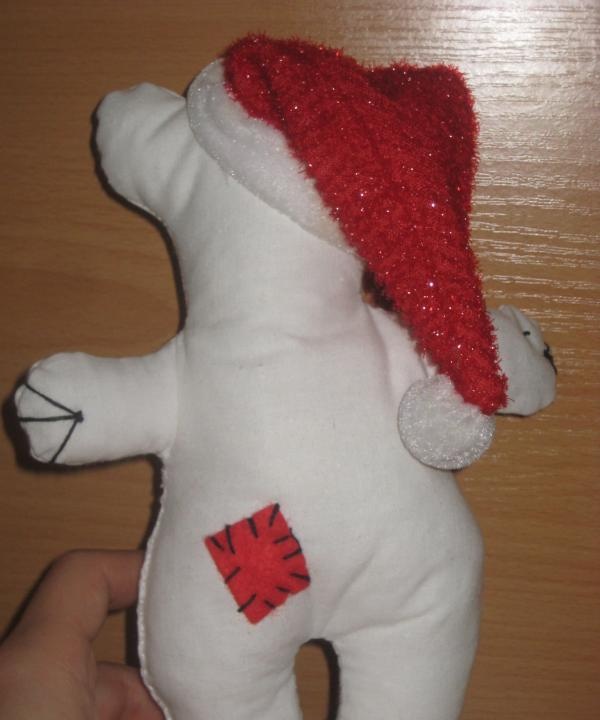
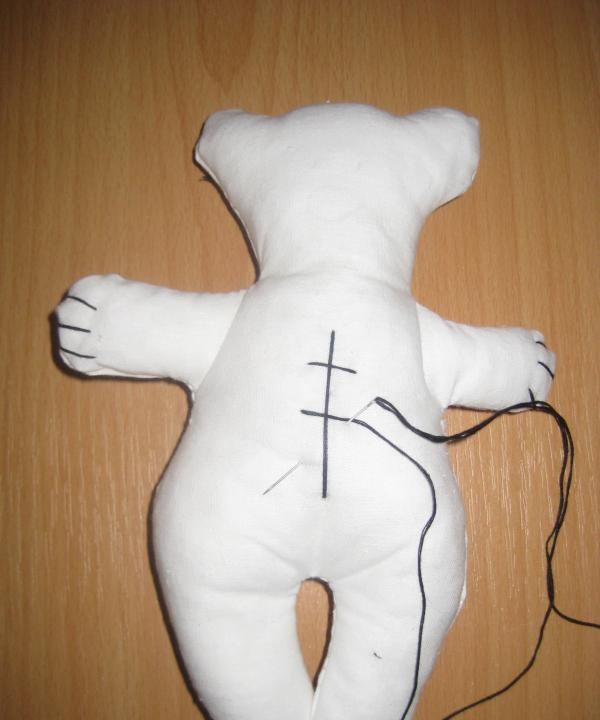
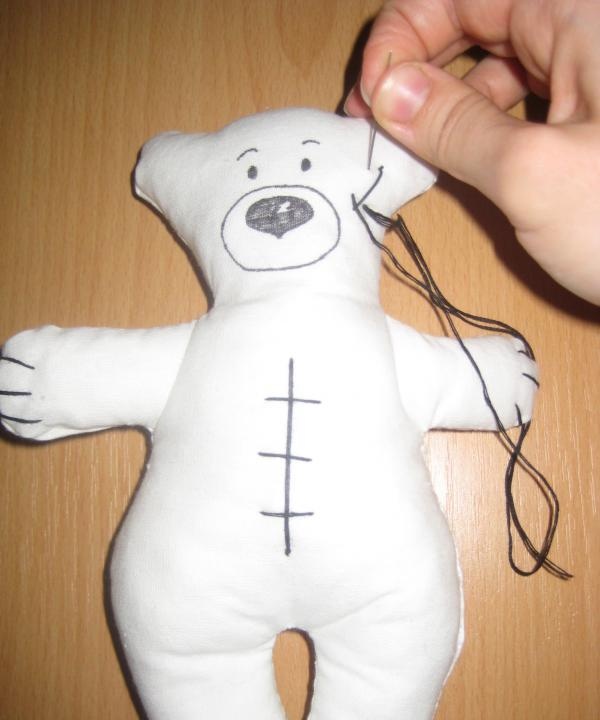
9. In the same way as on the tummy, using black floss, we sew several torn seams on the right and left sides, as well as on the forehead of the toy.

making notes


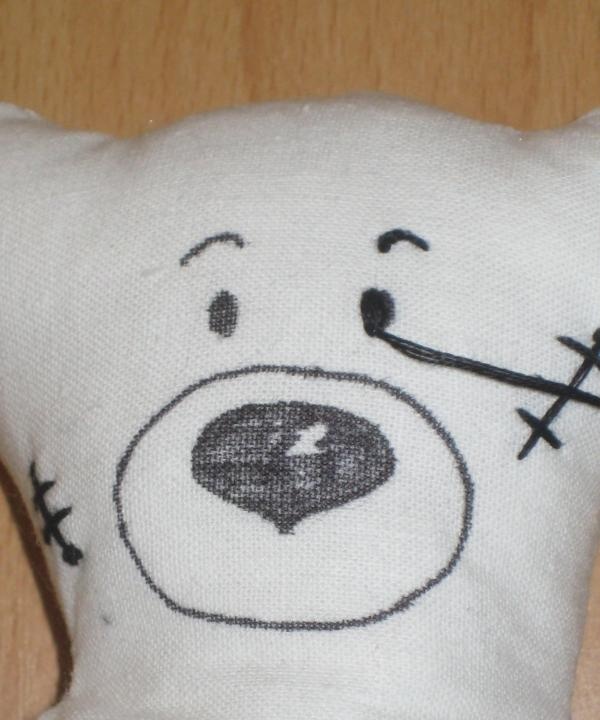
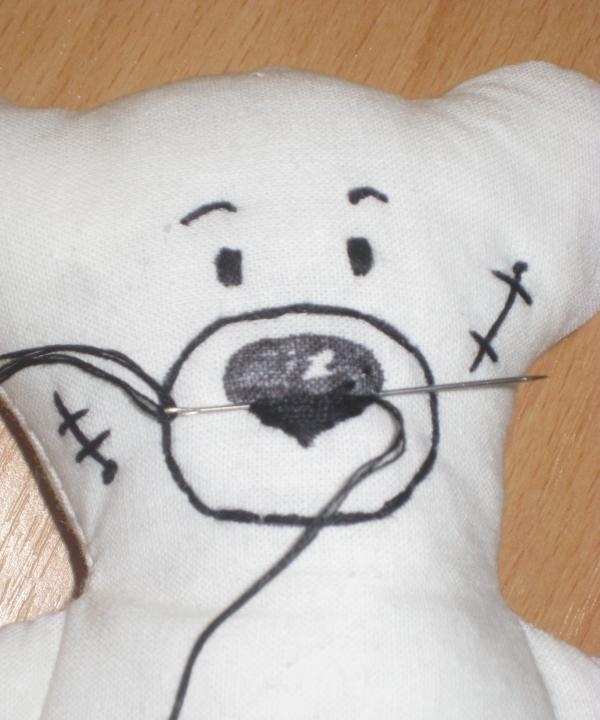
10. Now, according to our outlines, we sew the eyes, eyebrows, muzzle and nose with three threads of floss. We sew with regular satin stitch.

torn seams

We sew with regular satin stitch

We sew with regular satin stitch


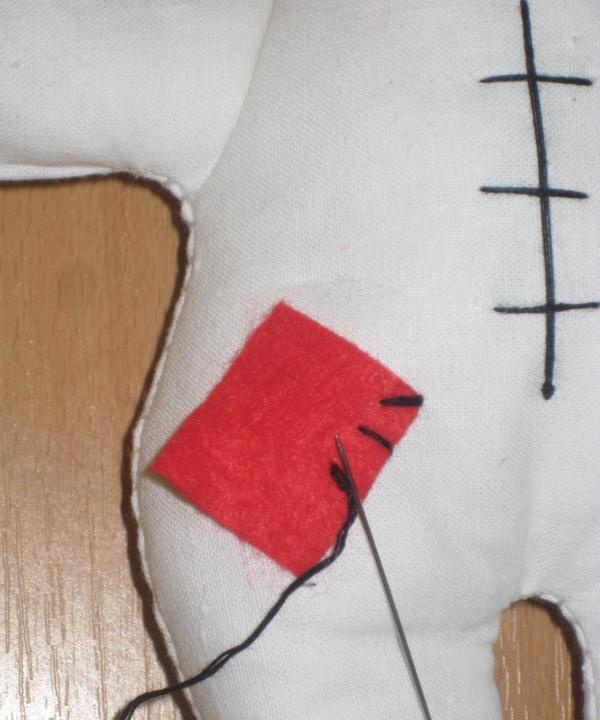
11. Then cut the prepared red fabric in half. These will be blanks for bear patches. Next, we sew these patches with black floss, sew one on the front right foot, the other on the back left.

red fabric

make a patch


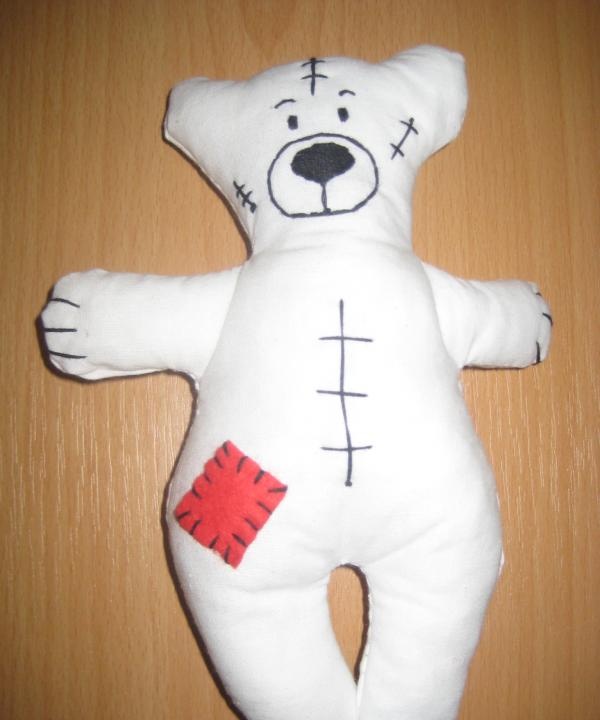
12. Sew a New Year’s hat on the bear. And that’s it, our polar bear is ready.

Charming teddy bear

white bear is ready
come back
Comment
  • bowtiesmilelaughingblushsmileyrelaxed relaxedsmirk
    heart_eyeskissing_heartkissing_closed_eyesflushedrelievedsatisfiedgrin
    winkstuck_out_tongue_winking_eyestuck_out_tongue_closed_eyesgrinningkissingstuck_out_tonguesleeping
    worriedfrowninganguishedopen_mouthgrimacingconfusedhushed
    expressionlessunamusedsweat_smilesweatdisappointed_relievedwearypassive
    disappointedconfoundedfearfulcold_sweatperseverecrysob
    joyastonishedscreamtired_faceangryragetriumph
    sleepyyummasksunglassesdizzy_faceimpsmiling_imp
    neutral_faceno_mouthinnocent
3+three=
Comments (0)

Plasticine picture | Do it yourself

How and how to remove glazing beads from a plastic window without damage with your own hands

Pig from a banknote

Cat bed | Do it yourself

«Do it yourself - with your own hands» - a site of interesting homemade products made from scrap materials and items at home. Step-by-step master classes with photos and descriptions, technologies, life hacks - everything a real master or just a craftsman needs for needlework. Crafts of any complexity, a large selection of directions and ideas for creativity.

We recommend reading

Washing machine error codes