Do it yourself
Life hacks, master classes, useful tips, recipes.
home » Cozy home » Thread box
Beautiful and convenient boxes for storing various trinkets are always needed in the house. For example, I like to knit, but over the years of doing this hobby I have collected a lot of leftover yarn, which, on the one hand, I need, but on the other hand, they constantly lie in the wrong place and get tangled. I needed a box in which I would put all the threads, in which they would not get tangled, they would all be in one place and always at hand. I didn’t want to use an ordinary cardboard shoe box, because, firstly, none of them fit in size, and secondly, a cardboard box immediately spoils the interior, making it look cheap and cluttered. That's why my husband made me a beautiful wooden box with an original metal-plastic lid.
To create the box, we needed a 2 cm thick board, 2 sheets of metal-plastic, 9 self-tapping screws, and a grinding attachment for an angle grinder.

Cut out 4 sides from the board


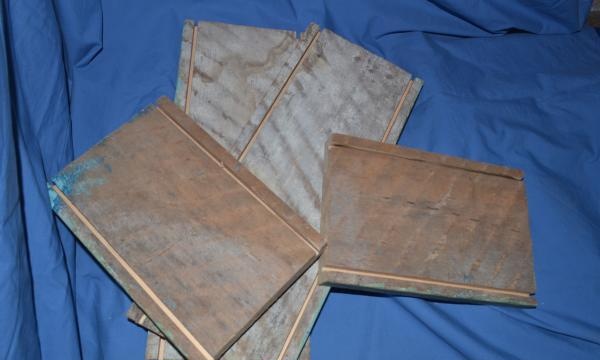
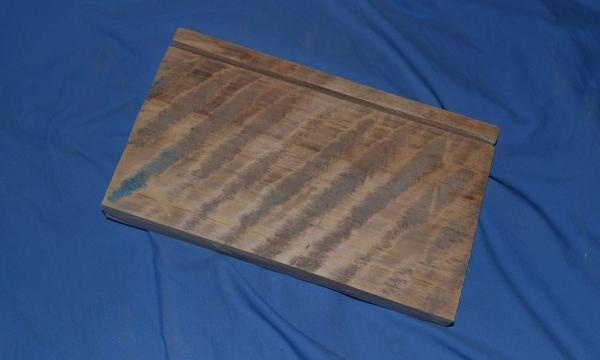
1. Cut out 4 sides from the board. Two of them measure 40 by 15 cm, two more – 25 by 15 cm.

make grooves


2. On each board, make grooves at the top and bottom at a distance of 1 cm from the edge.

cut off the bar


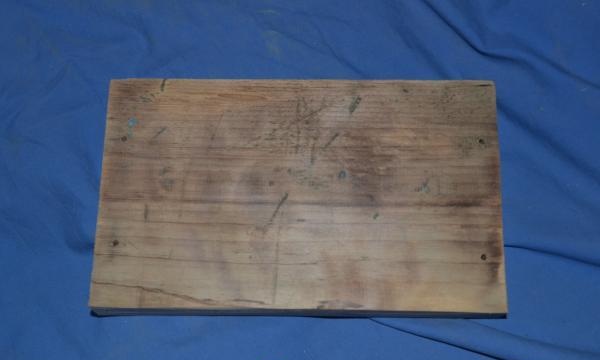
3. On one small side on top we do not make a groove, but cut off the strip at a distance of 1 cm from the edge.

polish all the details

Let's start assembling the box


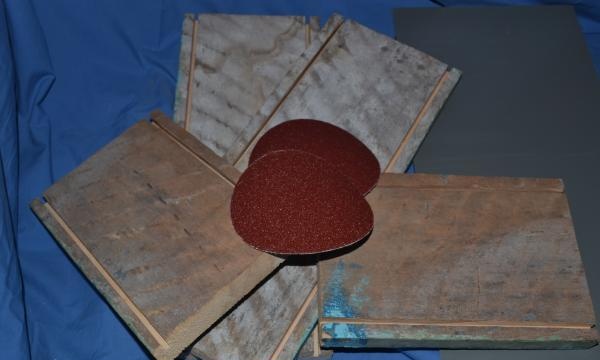
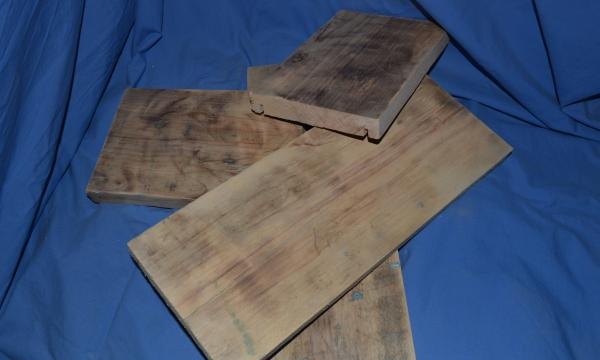
4.Using a grinder and a sanding attachment, we sand all the parts.
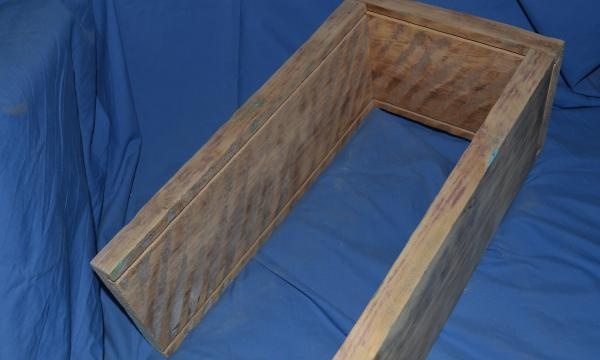
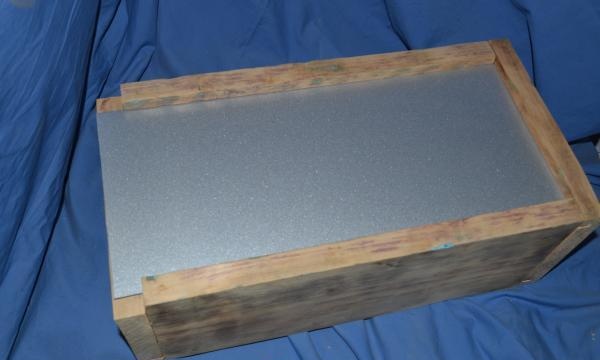
5. We begin to assemble the box. Using self-tapping screws, fasten the three walls. Attention, since our walls are quite thin, we first drill holes with a drill 1 mm thinner than the thickness of the self-tapping screw. We screw the screws into the holes. We screw in 2 screws on each side - top and bottom.

Let's start assembling the box

Let's start assembling the box


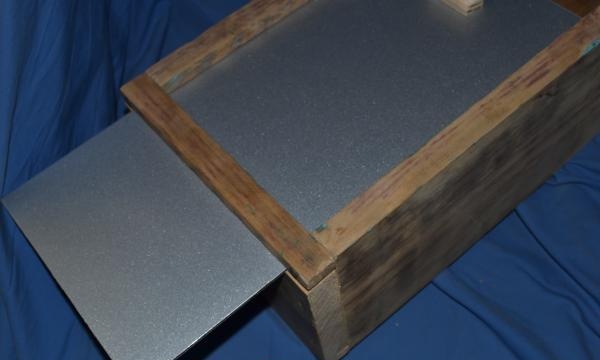
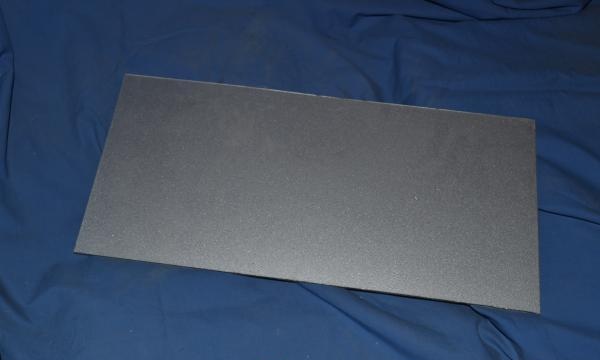
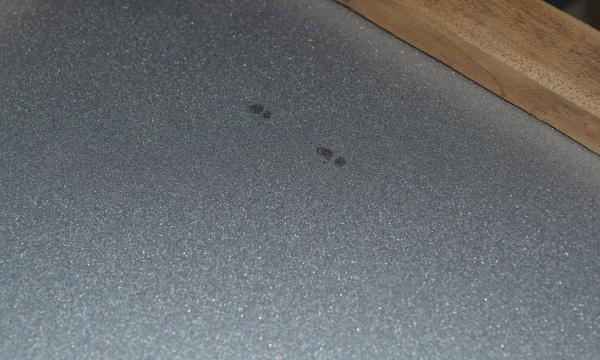
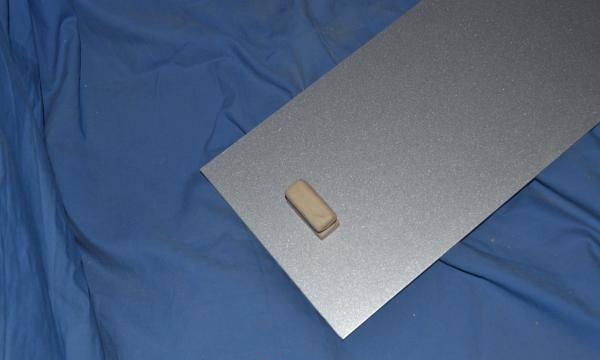
6. Cut out the bottom and lid from metal-plastic with parameters 38 by 23 cm.

Cut out the bottom and lid from metal-plastic


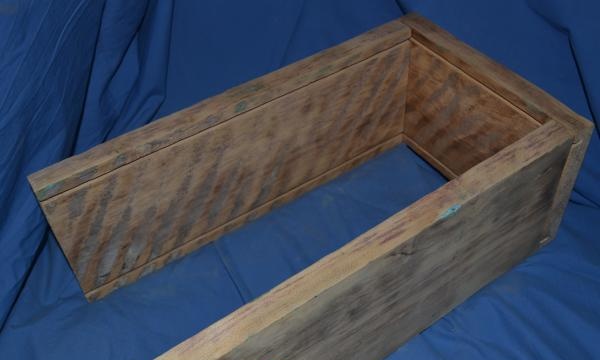
7. Insert the bottom into the grooves.

Insert the bottom into the grooves


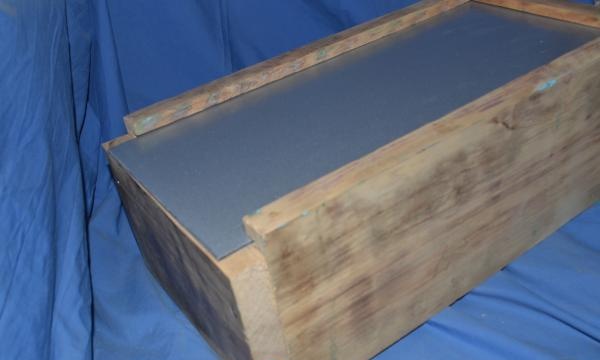
8. Screw on the fourth side (with the cut edge).

Insert the bottom into the grooves


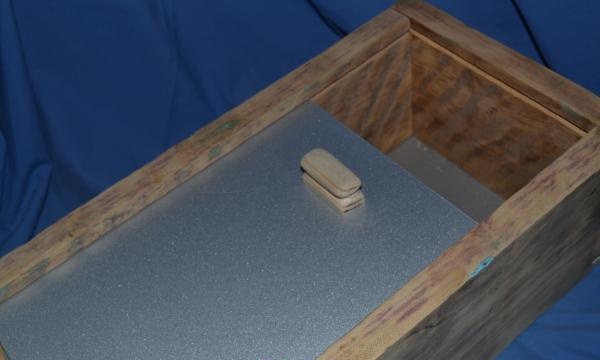
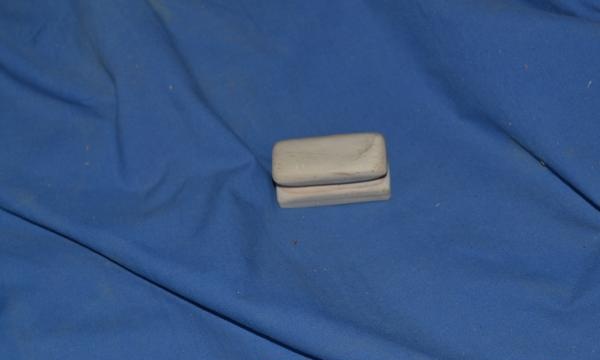
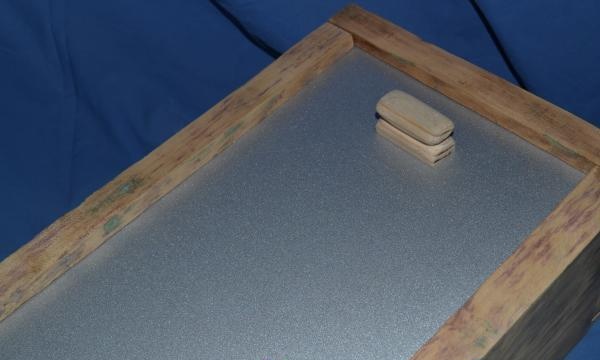
9. Making a handle. It can be cut from a plank, or you can buy a ready-made handle.

Making a handle


10. Place marks on the lid where the handle will be and drill holes. Screw on the handle.

On the lid we put marks where hexrf

Making a handle


11. Insert the cover into the grooves. We fasten the bar that remains from the side.

Insert the cover into the grooves


Our box is ready. You can put not only threads in it, but also other small items - cosmetics, jewelry, stationery, small children's toys, etc.

Thread box


Insert the cover into the grooves
come back
Comment
  • bowtiesmilelaughingblushsmileyrelaxed relaxedsmirk
    heart_eyeskissing_heartkissing_closed_eyesflushedrelievedsatisfiedgrin
    winkstuck_out_tongue_winking_eyestuck_out_tongue_closed_eyesgrinningkissingstuck_out_tonguesleeping
    worriedfrowninganguishedopen_mouthgrimacingconfusedhushed
    expressionlessunamusedsweat_smilesweatdisappointed_relievedwearypassive
    disappointedconfoundedfearfulcold_sweatperseverecrysob
    joyastonishedscreamtired_faceangryragetriumph
    sleepyyummasksunglassesdizzy_faceimpsmiling_imp
    neutral_faceno_mouthinnocent
3+three=
Comments (1)
  1. Oleg
    #1 Oleg Guests January 28, 2015 12:22
    1
    please write what tools you used and how you made the “grooves” or “grooves”, and if possible, a photo

This knife can be made by each of the PP pipes

Various | Page 76 | Do it yourself

How to make a metal decorative basket with your own hands

Handicraft techniques | Page 33 | Do it yourself

«Do it yourself - with your own hands» - a site of interesting homemade products made from scrap materials and items at home. Step-by-step master classes with photos and descriptions, technologies, life hacks - everything a real master or just a craftsman needs for needlework. Crafts of any complexity, a large selection of directions and ideas for creativity.

We recommend reading

Washing machine error codes