To make my bracelet I used the following materials:
• a small piece of leatherette;
• cardboard;
• scissors;
• Super glue;
• needle and thread;
• beads;
• acrylic paint.
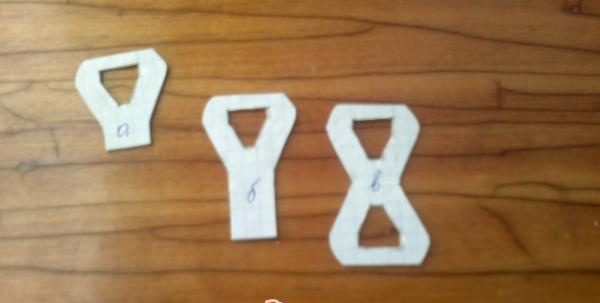
To begin with, I made cardboard blanks - a stencil for future bracelet parts. To do this, simply draw a sketch of each detail on paper and glue it onto cardboard so that each stencil is more durable and does not move away during the tracing process. As soon as the glue dried, I cut out the resulting parts.
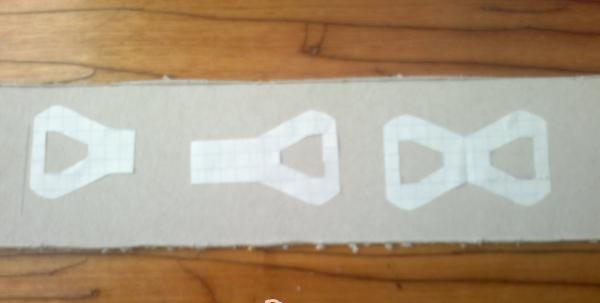
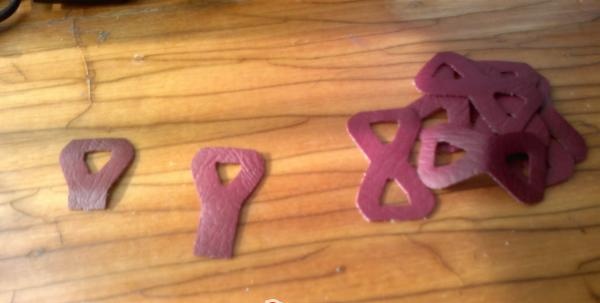
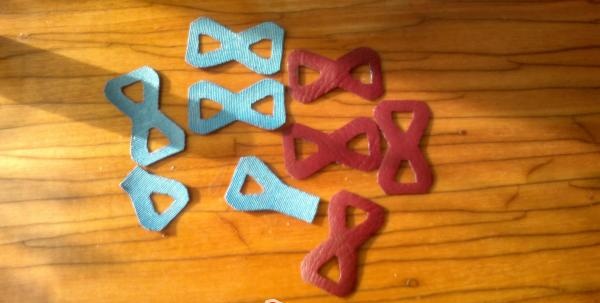
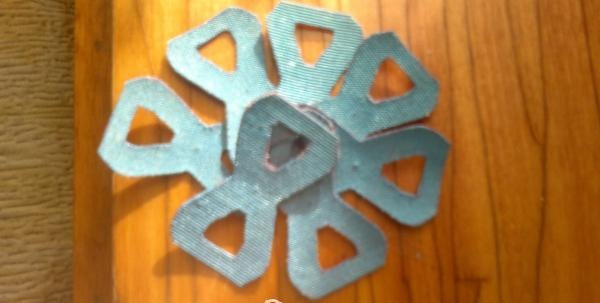
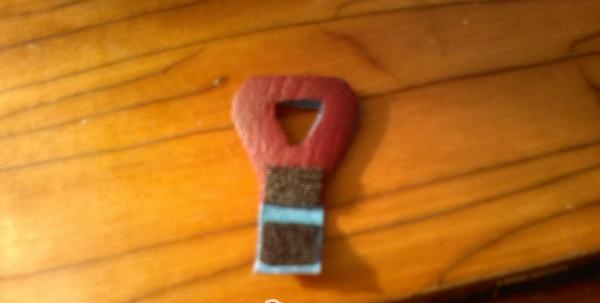
The next step is to repeat the appearance of all the parts, but only from leatherette. On my hand there is one part “a” and “b”, as well as 7 parts “c”.
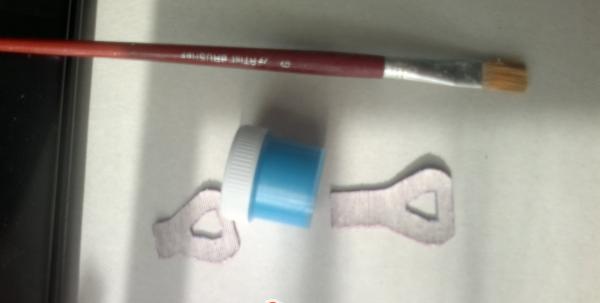
Since the color of the leather I used wasn't bright enough, I decided to add a couple of colorful spots and painted the back side with blue acrylic paint.
It is better to do this on a surface covered with something unnecessary.
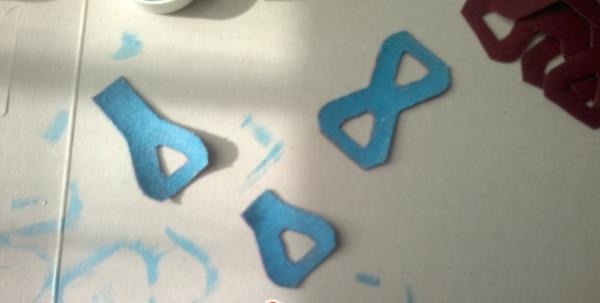
The result is such a bold combination.
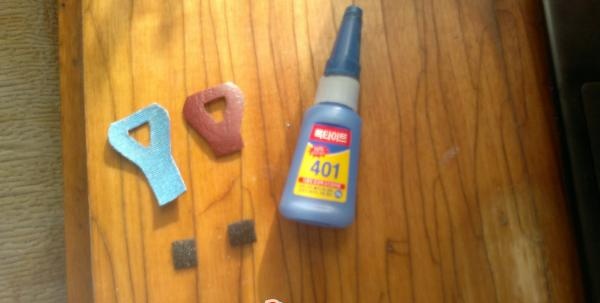
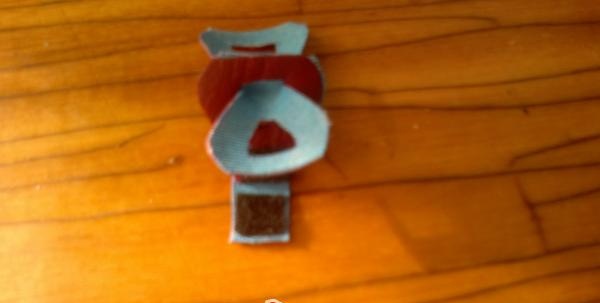
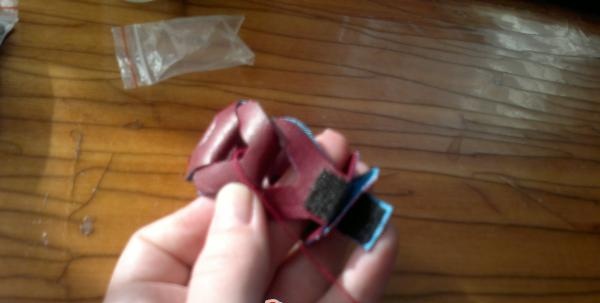
Now you can start creating the clasp. I chose regular Velcro.
I chose superglue as a fixative, since it leaves almost no traces. Please note that the Velcro is glued to different sides of parts “a” and “b”.
While the glue dries, make it easier for yourself and make small holes exactly in the center of all the parts “in”. it will come in handy when decorating a future bracelet.
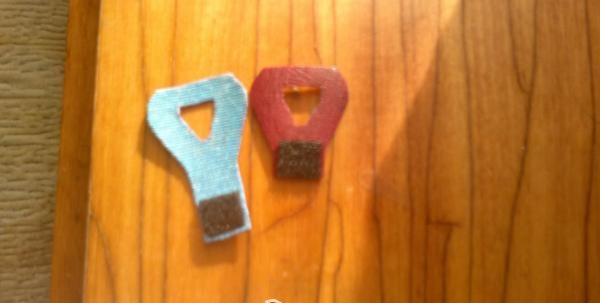
This is what the reverse side of all the parts looks like now.

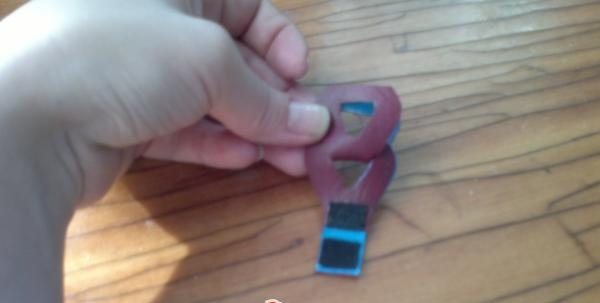
Let's start assembling the accessory. We apply parts “a” and “b” to each other with the wrong side.
Now, through the resulting “window” we thread one of the parts “in” and fold it in half with the wrong side inward to form the next “window”.
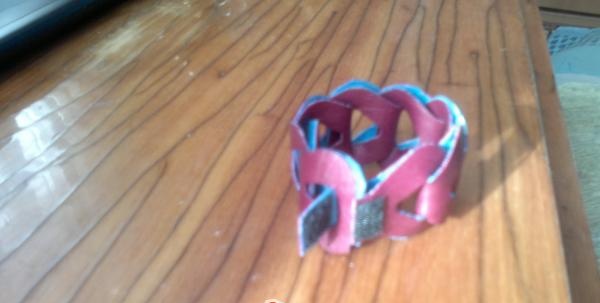
In this way we attach all the remaining links.
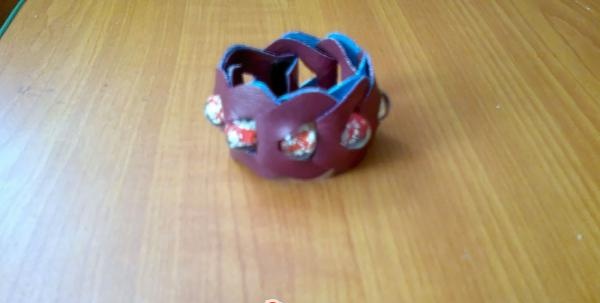
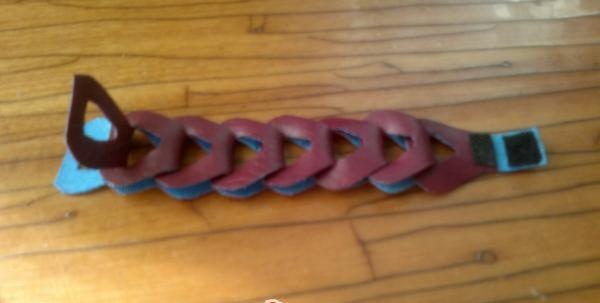
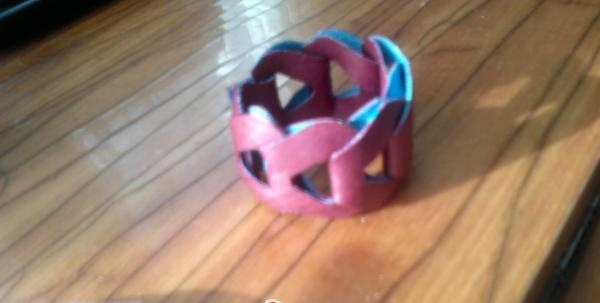
We glue the edges of the last part “c” together for convenience. This is how the bracelet will close. (photo 16) And here is its almost finished appearance.
Let's start decorating. To do this, in the hole made in the first link “c” we fasten a knot of thread so that the needle points deep into the bracelet.
We put one bead on the needle and thread it through the hole of the second similar link.
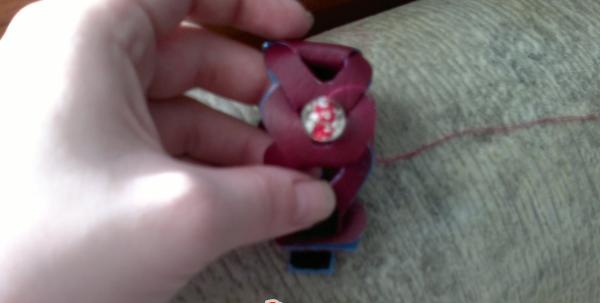
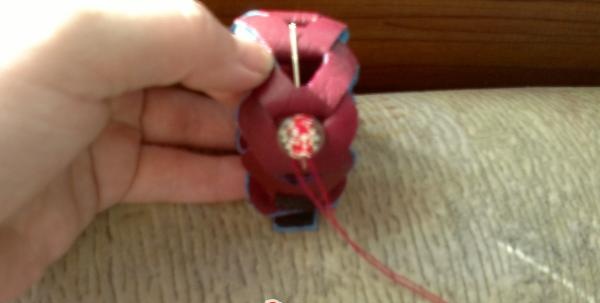
In the same way we decorate the entire bracelet with beads. I decided to leave free windows along the cuts so that the hand in this decoration would feel calm and nothing would interfere with the hand when bending.
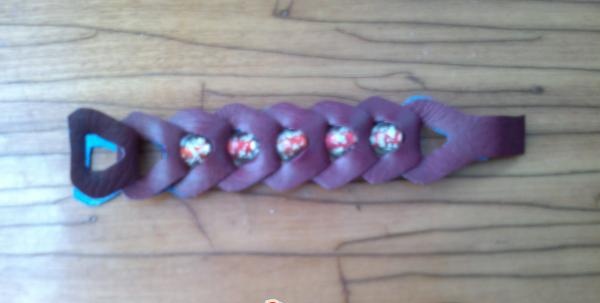
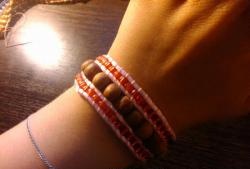
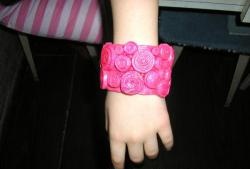
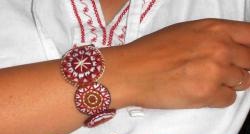
As a result, I received such an interesting decoration.