Do it yourself
Life hacks, master classes, useful tips, recipes.
home » Handicraft techniques » Decoupage » Decoupage master class » Decoupage of New Year's Christmas balls
New Year is coming soon, and we want to decorate our Christmas tree in something very beautiful and at the same time original and unusual. Therefore, today’s master class will come in handy for us, thanks to which we will independently decorate plastic balls using the technique decoupage.

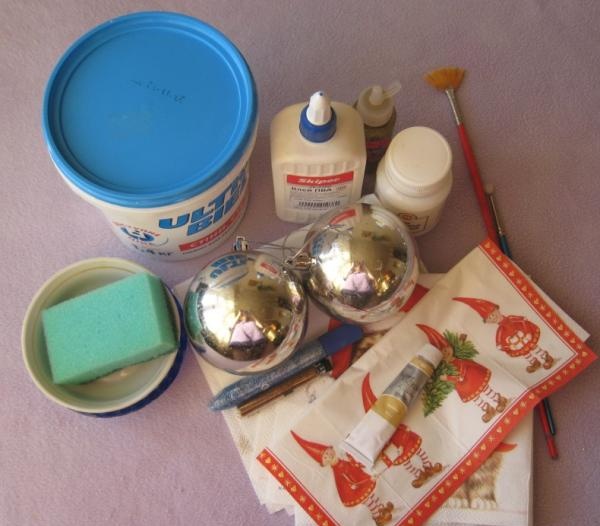
Materials we will need:
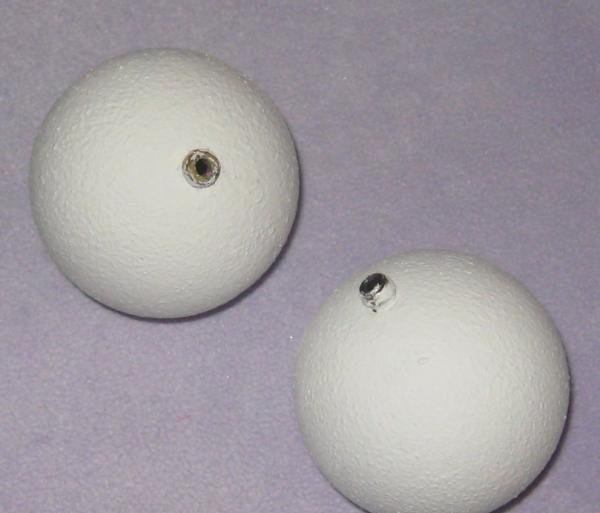
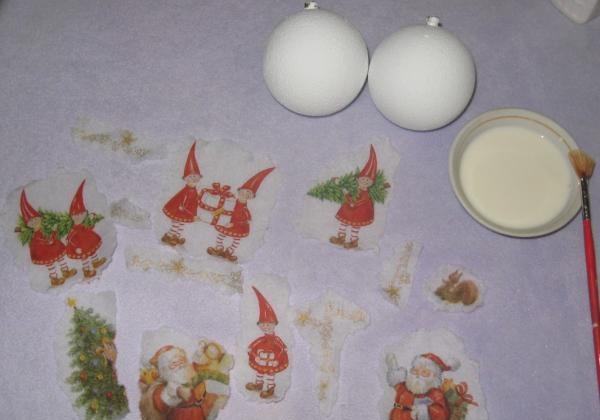
• Two large plastic balls with a diameter of 8-9 cm, it is better to take a silver color so as not to shed;
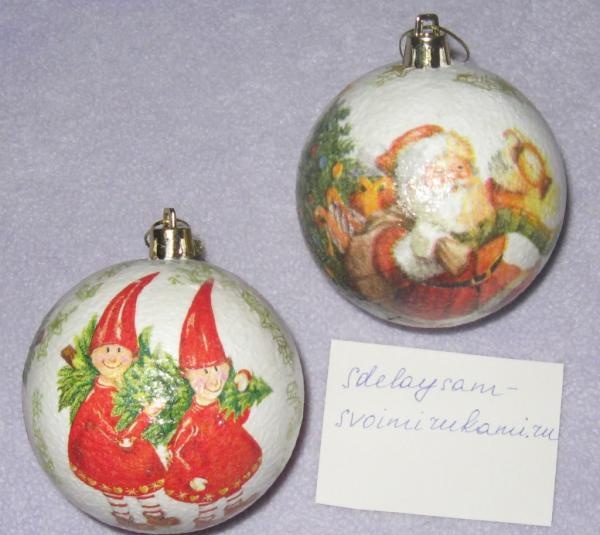
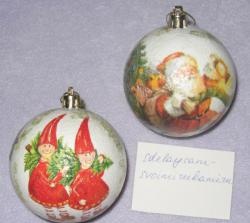
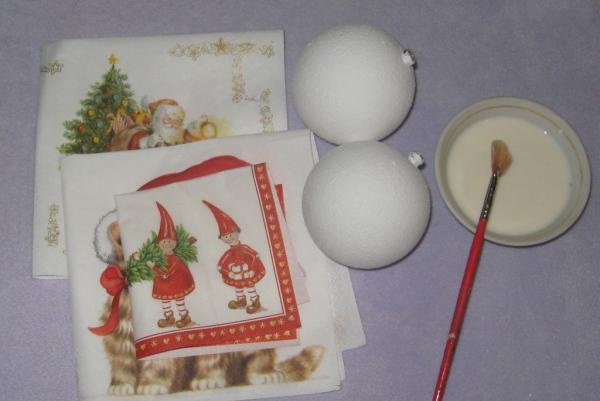
• Two napkins for decoupage: with New Year's gnomes and Santa Claus;
• White acrylic paint;
• PVA glue;
• Acrylic varnish for decoupage;
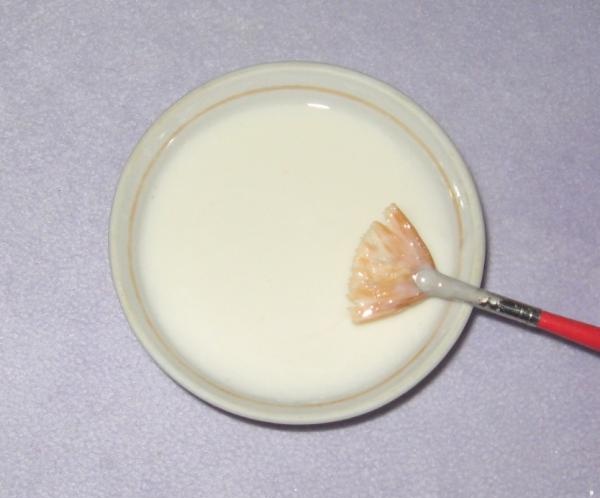
• Fan-shaped brush;
• Glass or ceramic plates;
• Kitchen foam sponge;
• Sequins for decoration;
• Two bamboo sticks.

Materials

pour white paint


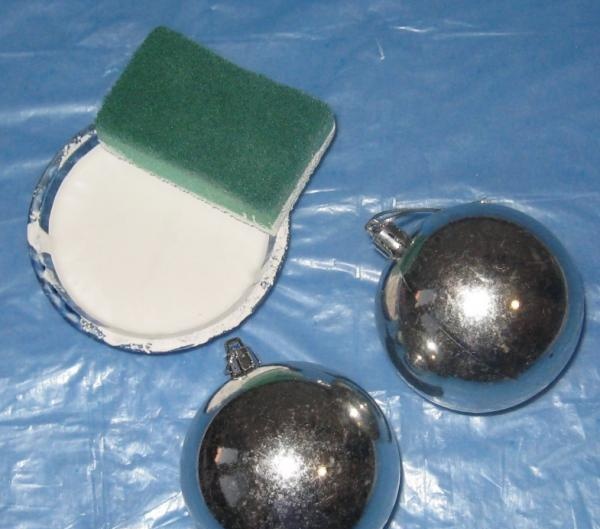
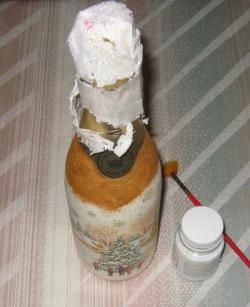
Place the bag on the table, remove the top caps from the balls, and take the ball by the top. Now pour white paint into one plate, dip a sponge in it and begin to paint the ball. First, we paint one ball, carefully place it on a bamboo stick and leave it to dry, then we paint the second ball, and also place it on the stick.

paint

dries on plastic


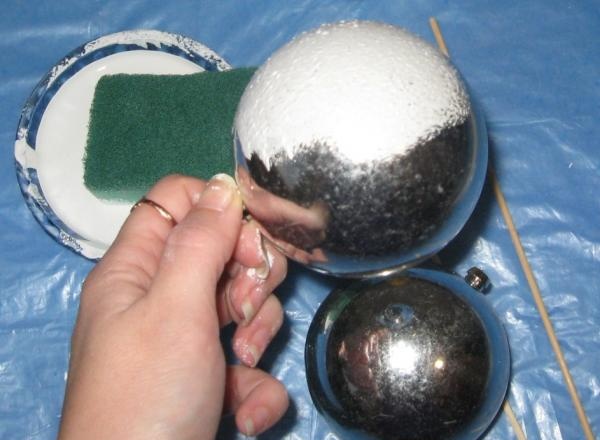
The first coat of paint takes about an hour to dry on the plastic. Then we paint with a second layer and a third with intervals for drying.

paint with a second layer

napkins for decoration


Preparing napkins for decoration. We iron them and unfold them. In a second bowl, dilute water with PVA nanopoly glue and stir thoroughly.

dilute water with glue

tear off the fragments


Immediately tear off the fragments with drawings onto napkins.

drawings on napkins

Removing the top layers


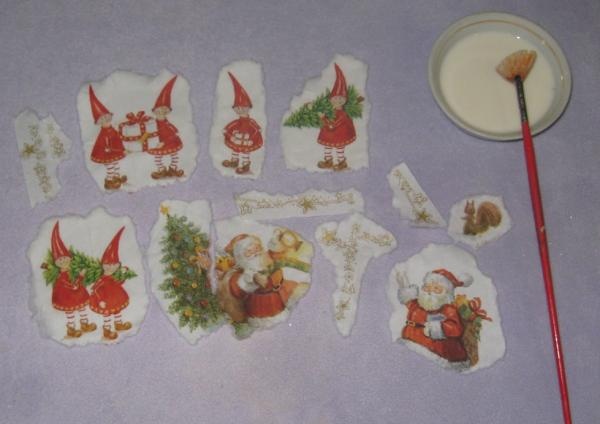
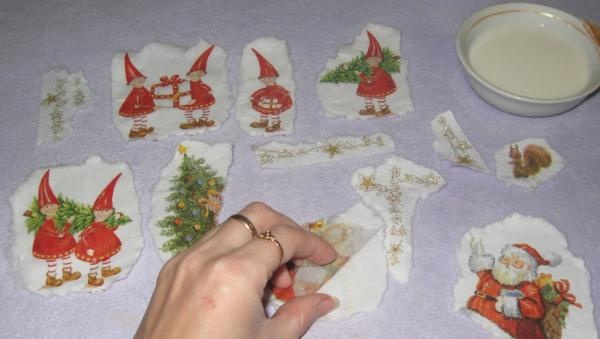
We remove the top layers from each fragment of the napkin, we get these blanks.

blanks

Attaching a drawing


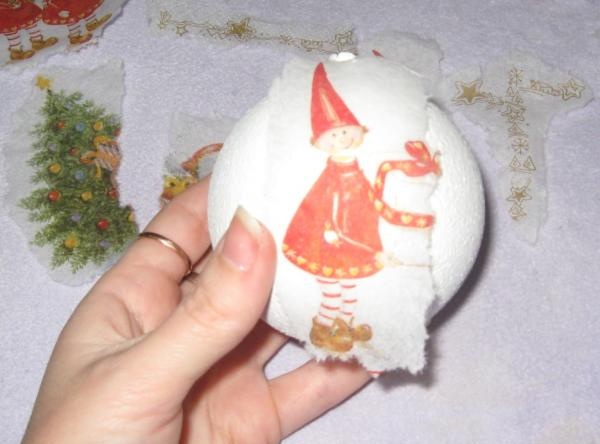
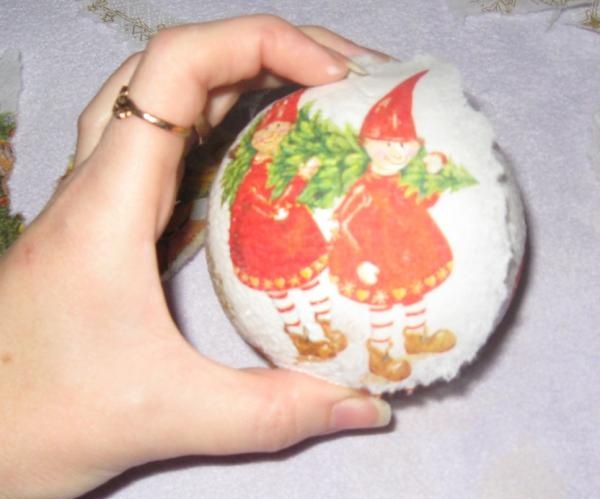
We apply one design to the ball and carefully dip the brush into the glue mixture, glue the design to the ball, then the second fragment in a circle.

glue the drawing

third and fourth


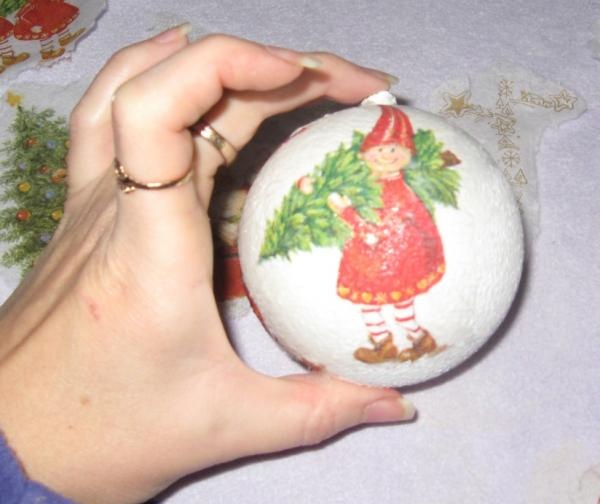
Also the third and fourth. Let the surface of the ball dry completely. For now we decorate the second ball in the same sequence.

decorate

Both balls dry


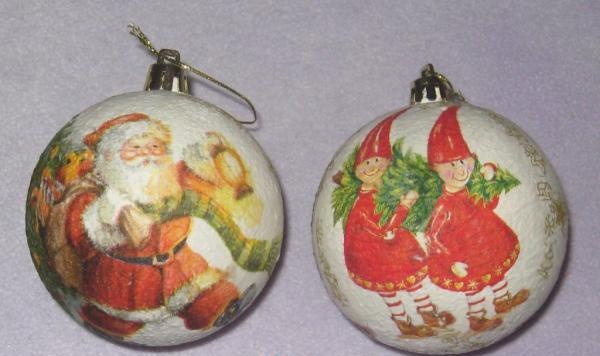
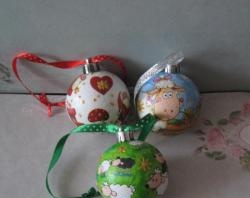
Both balls dry, put caps on them and begin to varnish them.

Decoupage Christmas balls

varnish


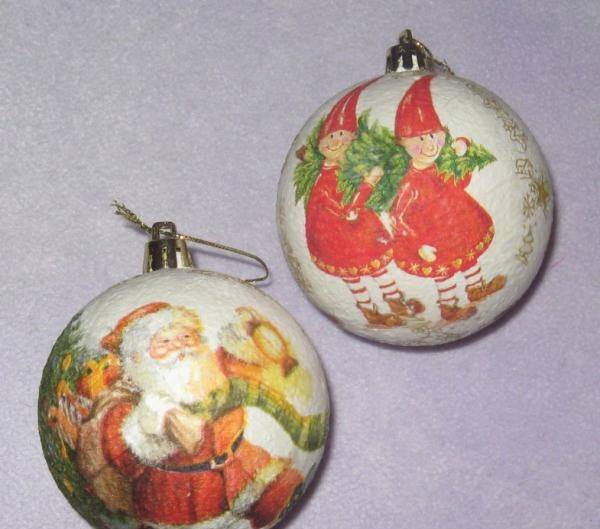
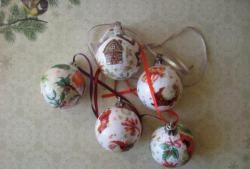
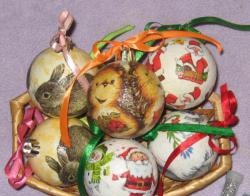
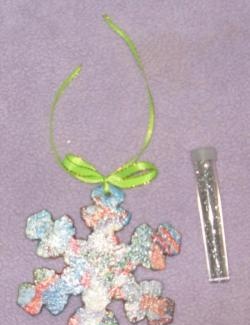
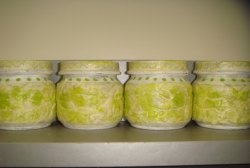
We cover the balls with 3-4 layers of glossy acrylic varnish. The balls become shiny and can be sprinkled with glitter for decoration. This is how we got handmade Christmas tree balls.

Decoupage Christmas balls
come back
Comment
  • bowtiesmilelaughingblushsmileyrelaxed relaxedsmirk
    heart_eyeskissing_heartkissing_closed_eyesflushedrelievedsatisfiedgrin
    winkstuck_out_tongue_winking_eyestuck_out_tongue_closed_eyesgrinningkissingstuck_out_tonguesleeping
    worriedfrowninganguishedopen_mouthgrimacingconfusedhushed
    expressionlessunamusedsweat_smilesweatdisappointed_relievedwearypassive
    disappointedconfoundedfearfulcold_sweatperseverecrysob
    joyastonishedscreamtired_faceangryragetriumph
    sleepyyummasksunglassesdizzy_faceimpsmiling_imp
    neutral_faceno_mouthinnocent
3+three=
Comments (1)
  1. Tatiana
    #1 Tatiana Guests 10 December 2015 17:51
    3
    When you apply varnish, the paint layer doesn’t rub off? And you didn’t sand the balls first or cover them with a primer?

Do not throw away stretched seedlings - they can be fixed

Do it yourself - crafts and master classes | Page 193

How to make a remote control console with your own hands from an old radio bell

How to install a motor from a brush cutter to a bicycle

«Do it yourself - with your own hands» - a site of interesting homemade products made from scrap materials and items at home. Step-by-step master classes with photos and descriptions, technologies, life hacks - everything a real master or just a craftsman needs for needlework. Crafts of any complexity, a large selection of directions and ideas for creativity.

We recommend reading

Washing machine error codes