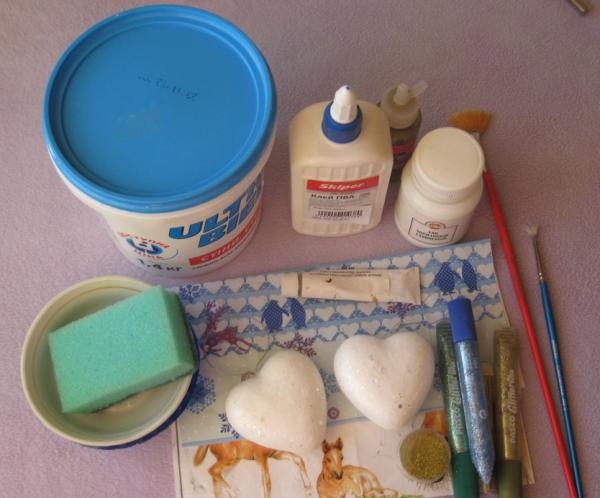
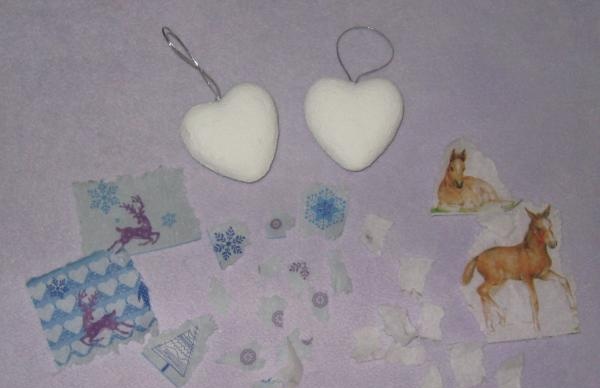
What we need for this:
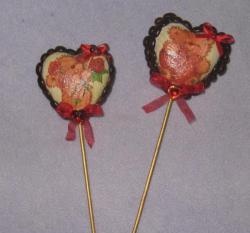
• Two foam hearts;
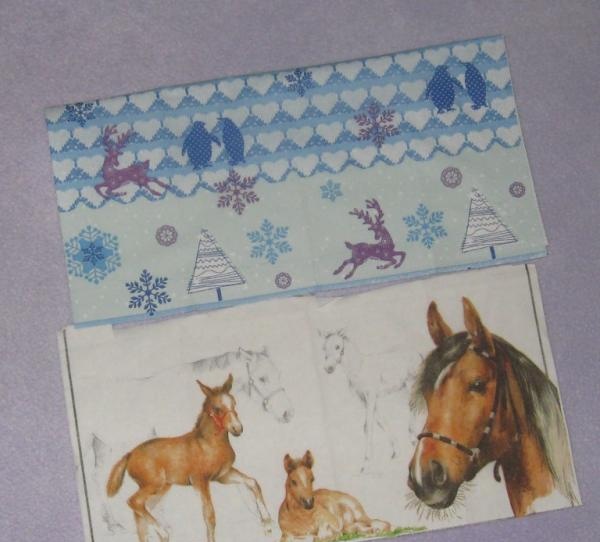
• Two napkins for decoupage: one with New Year's deer, and the second with horses;
• White acrylic paint;
• Acrylic glossy varnish for decoupage;
• PVA glue;
• Two bowls;
• Brush for decoupage;
• Foam sponge;
• Liquid and dry glitter;
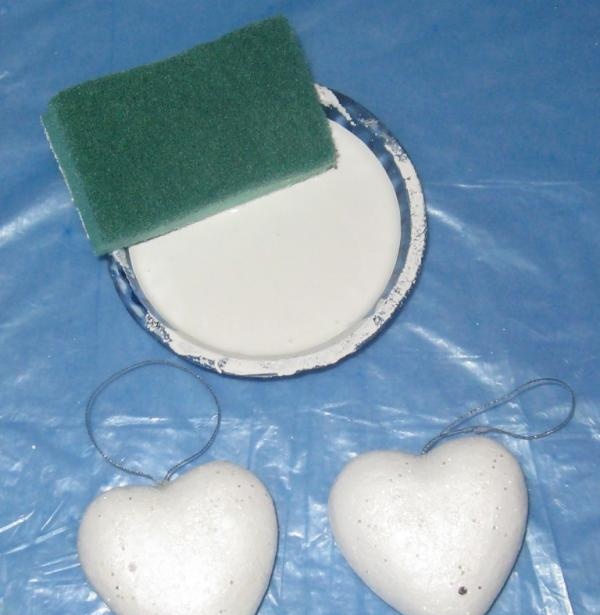
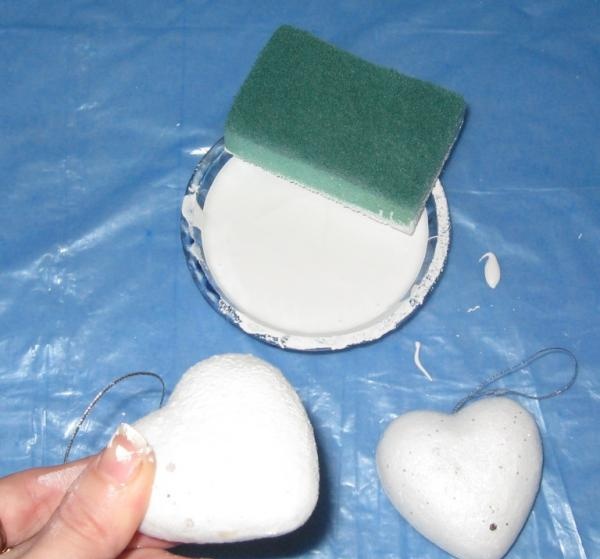
Let's get started, pour white acrylic paint into one plate, take a sponge and apply the first layer of paint, first on one side of each heart, and then on the back side of the hearts. Let it dry for about 30-40 minutes on each side.

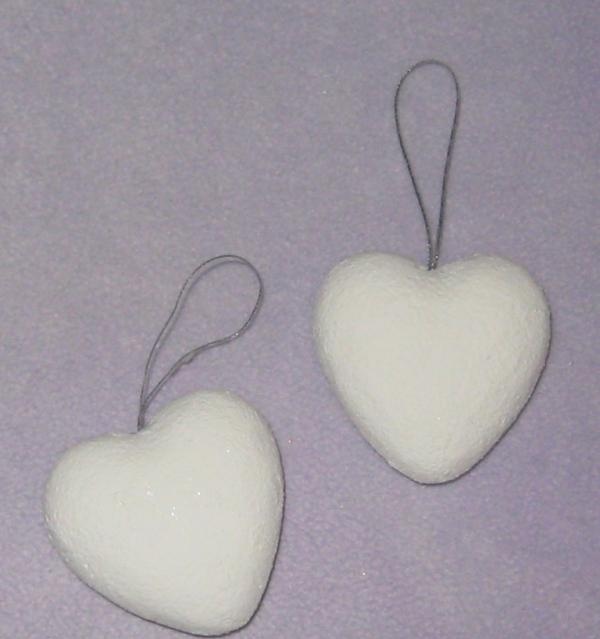
When the first layer has dried, now paint the heart with a second layer on both sides. Let it sit for about an hour. While the hearts are drying, prepare napkins for decoration. Our napkins are 25*25 cm in size, we will need half a napkin each, so you can take half a napkin at once.
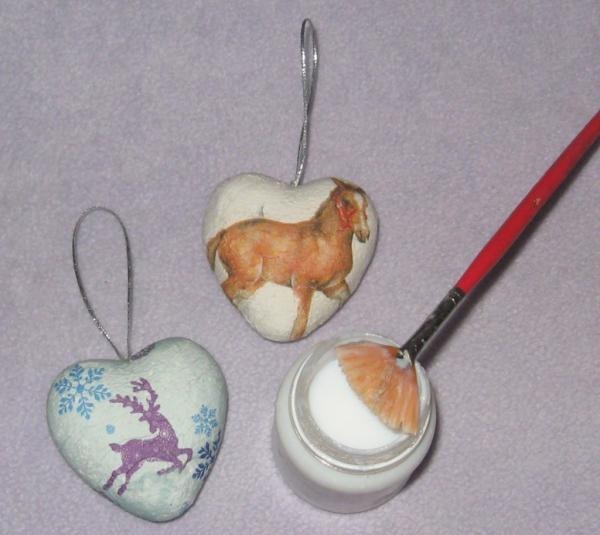
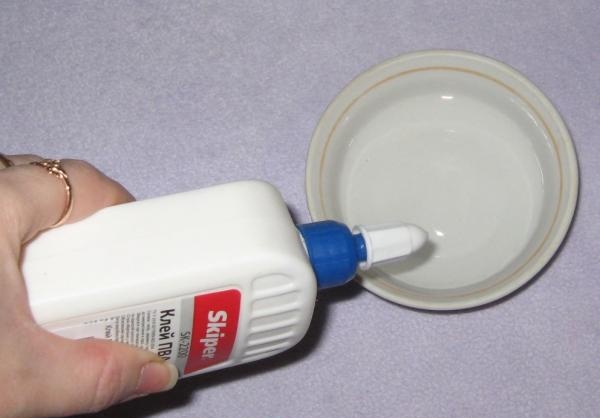
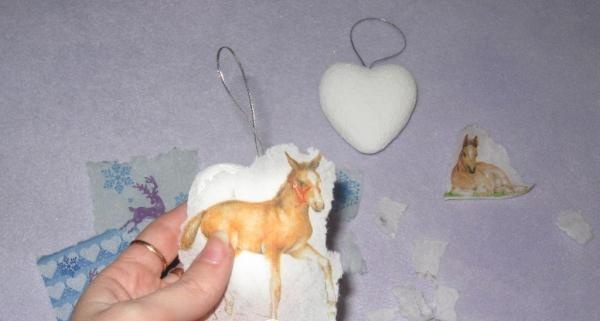
In the second plate we dilute PVA glue and water in equal quantities, mix well, we get an adhesive mixture that sticks the napkin to the surface.The hearts have dried, now we apply napkins to the hearts and tear off the fragments we need.
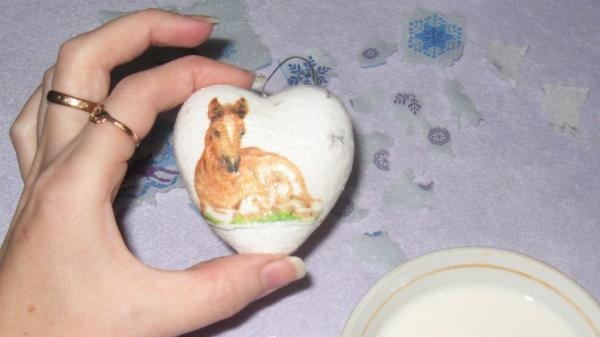
We attach a picture with a horse and a decoupage brush and start gluing the picture from the center. We carefully fold the edges and coat them.
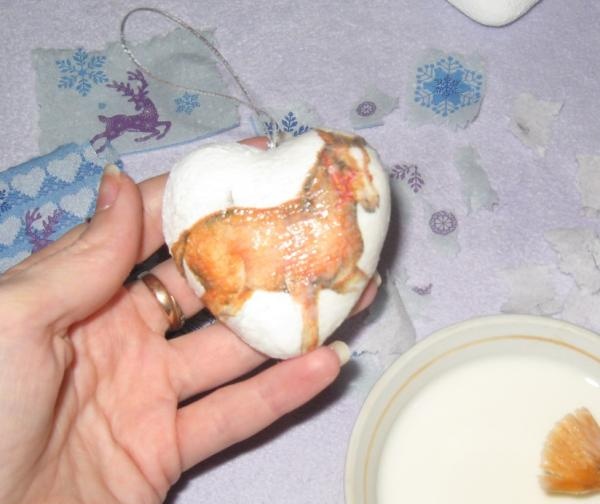
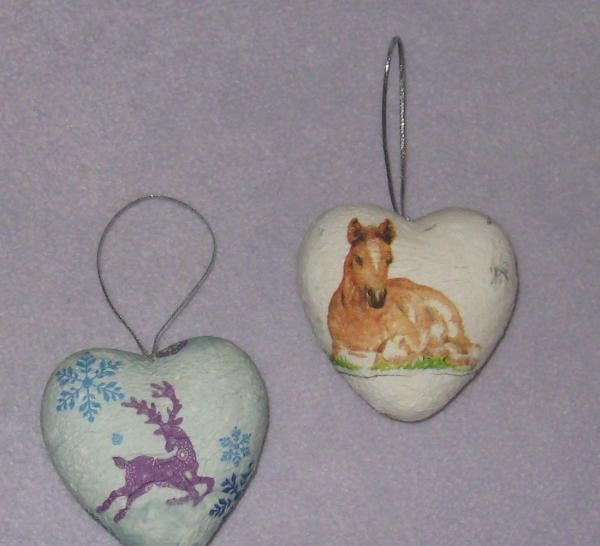
Let the side on which the napkin was applied dry and turn it over to the other side, take the second fragment with the horse and glue the second picture, as in the photo. Where the napkin is not completely enough, you can add individual pieces and glue them with a brush.
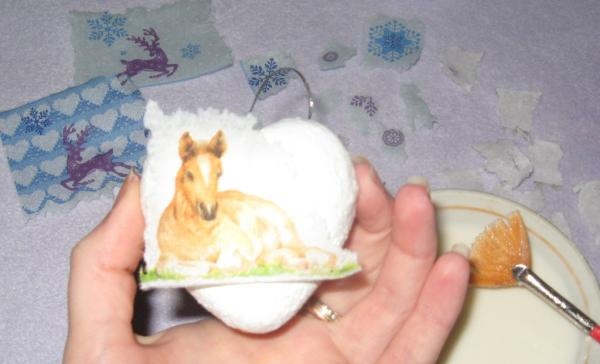
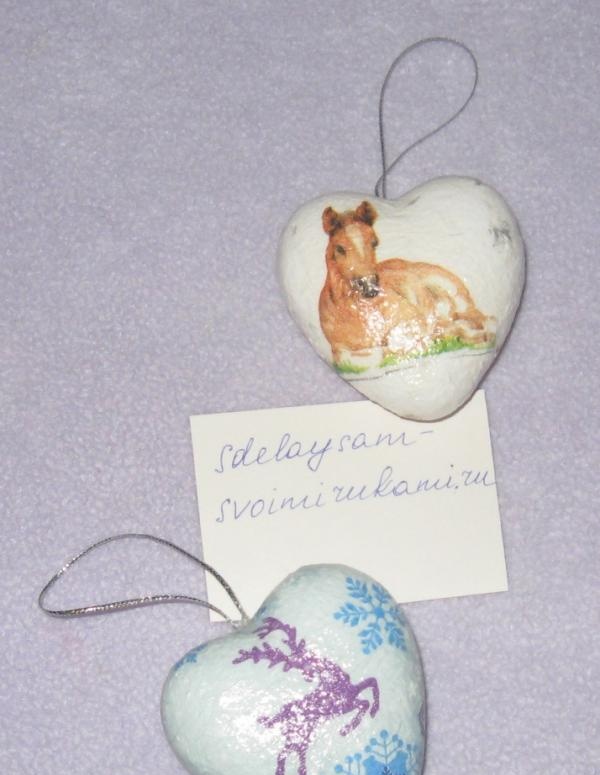
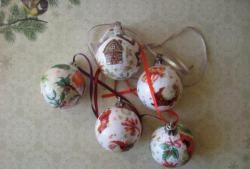
Let the other side dry. In the same sequence we decorate the second heart with a napkin with deer. Now we will cover the hearts with acrylic varnish. Apply the first layer with a brush, let it dry, then the next layer and so on for a total of 4-5 layers of decoupage varnish. Finally, if desired, you can sprinkle the hearts with dry glitter, or decorate them with liquid glitter.