When children leave their parents' home, we expect attention from them. But, if when the child was little, we did not teach him to give small tokens of attention to his grandparents, sign cards for them and congratulate them on the holidays, then we should not expect this from our children for ourselves. Therefore, by pleasing grandparents and providing them with care, we build our future. You need to remember this.
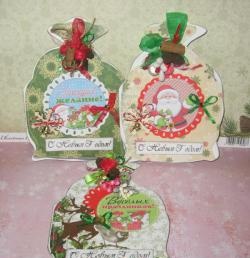
And it doesn’t have to be expensive present. With what trepidation a grandmother treasures drawings and postcards made for her by her beloved grandson or granddaughter! So let’s please those who are waiting for our attention. The Christmas and New Year holidays are approaching: it's time to make cards with your child and then give them to your family.
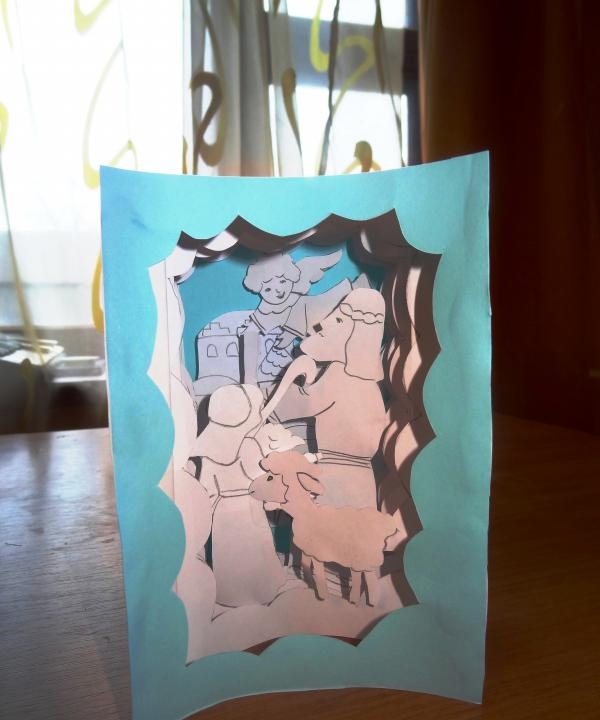
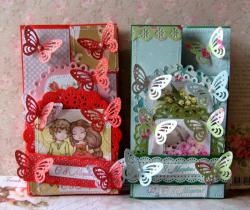
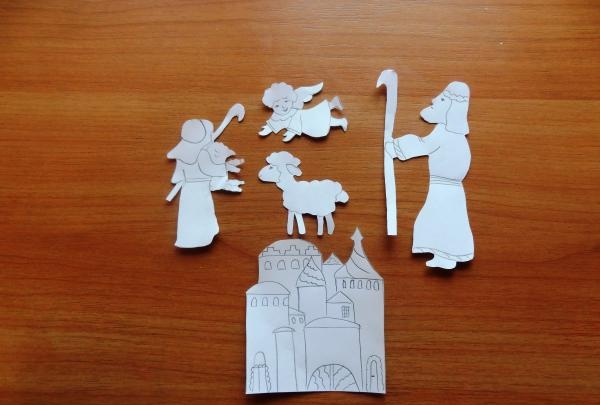
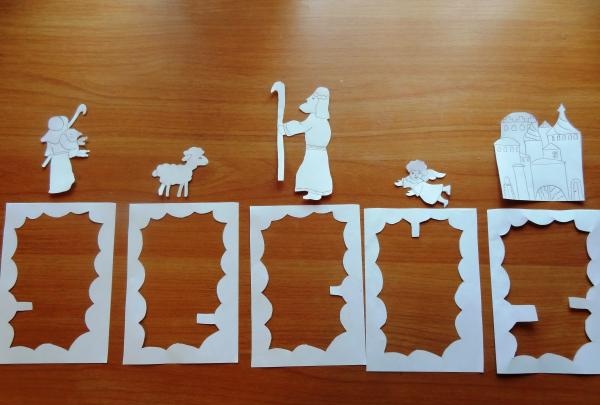
If you want to develop your baby and instill in him an aesthetic taste, take a closer look at different techniques for making cards. The tunnel postcard looks interesting. Making such a craft is not difficult.First, let's decide on the theme of the postcard. This could be a New Year's card, on which snowflakes or stars will simply swirl. You can also create a panoramic postcard on which to reflect some kind of story. You can also use photographs for the postcard, creating a kind of three-dimensional collage. All parts are cut out. Then sheets with tunnel slots are prepared. The shape of the tunnel can be any: round, square, intricate. When cutting out the middle, do not forget to leave small “pins” on each sheet, onto which we will then attach our figures.
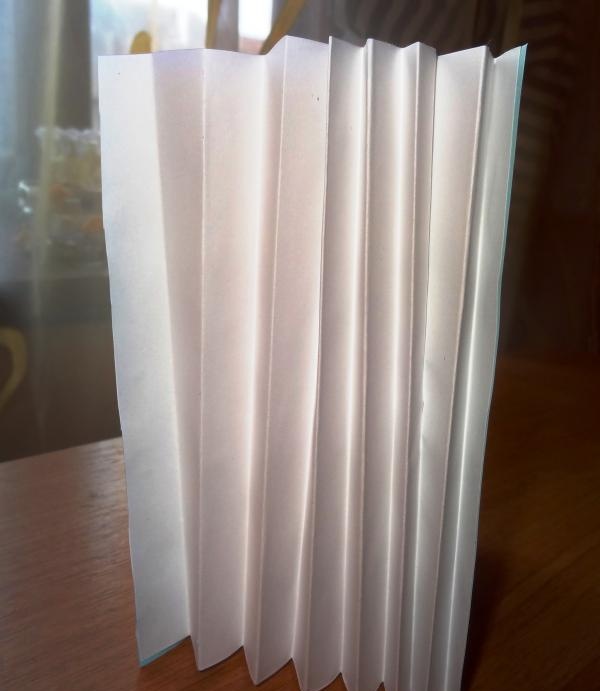
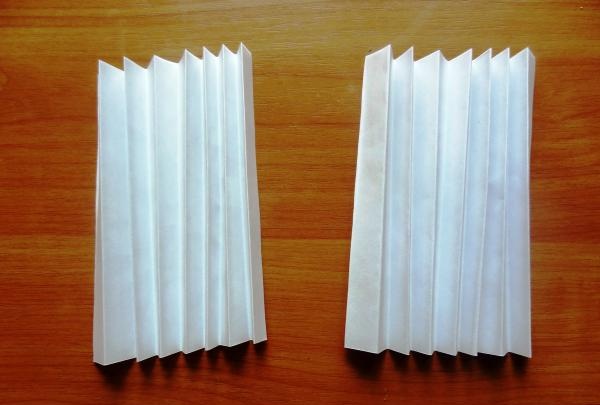
The last page must be continuous. For the side part, bend a sheet of paper like an accordion. The fold height is about 1.5 centimeters. The number of accordions is determined by the number of internal sheets where the figures are located, which will be at different distances, creating a volume effect. The height of the accordion is equal to the height of the sheet in which you make the slits.
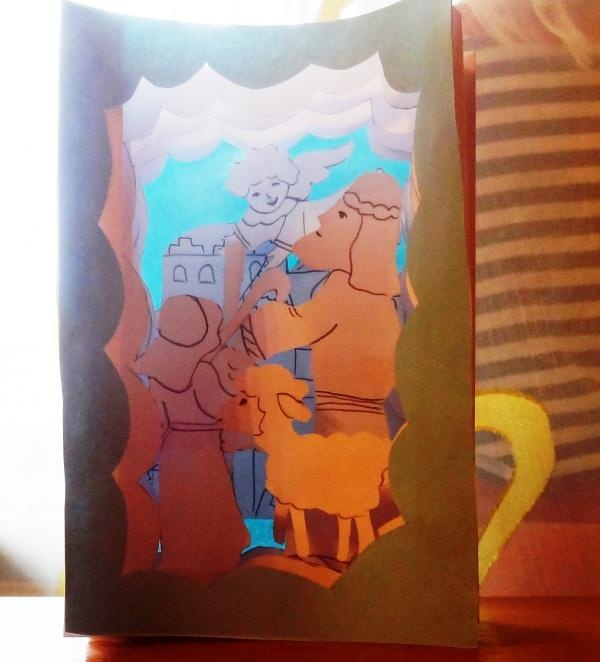
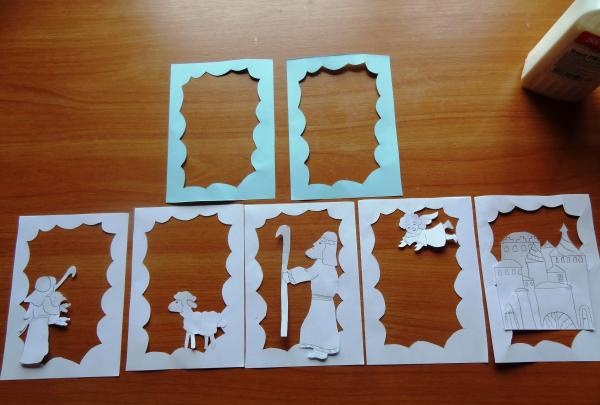
The postcard is assembled in the following sequence. First, figures are glued onto the “pins” of the inner sheets. Then the inner sheets are glued onto the accordion. The last step will be gluing the first and last sheet. If the child wants to sign the card, then this can be done on the last sheet at the back before it is pasted.