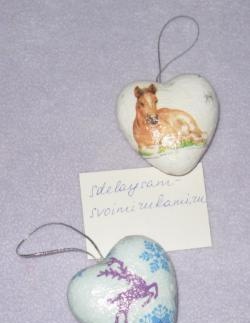
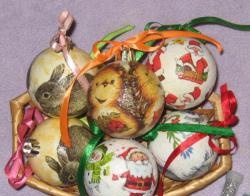
Consider a detailed master class with a step-by-step description of the whole process.
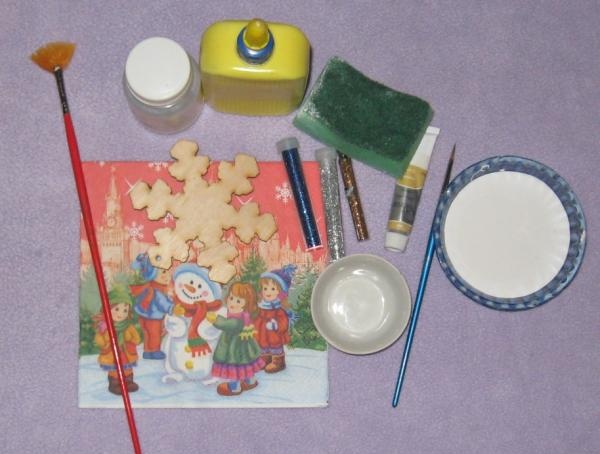
Materials and tools we need:
• Finished and processed blanks of snowflakes made of plywood;
• Christmas napkin for decoupage;
• PVA glue;
• Acrylic glossy varnish;
• Acrylic paint of a golden shade;
• White acrylic paint;
• A brush for a decoupage and an artificial brush for paint;
• Dry and liquid spangles;
• Foam sponge;
• Two small bowls.
Pour white paint, take a kitchen sponge, dip it in the paint and paint the surface of the snowflake on one side.
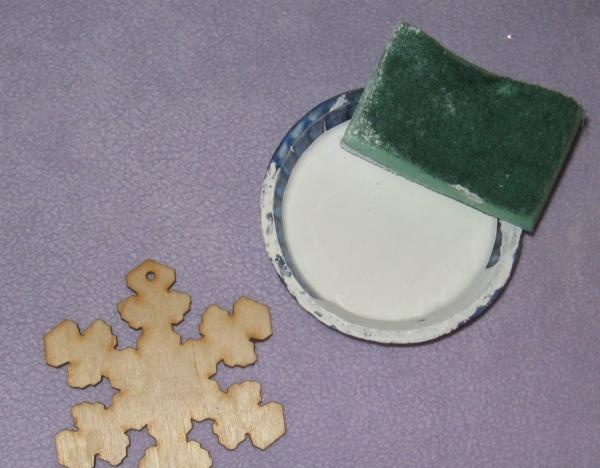
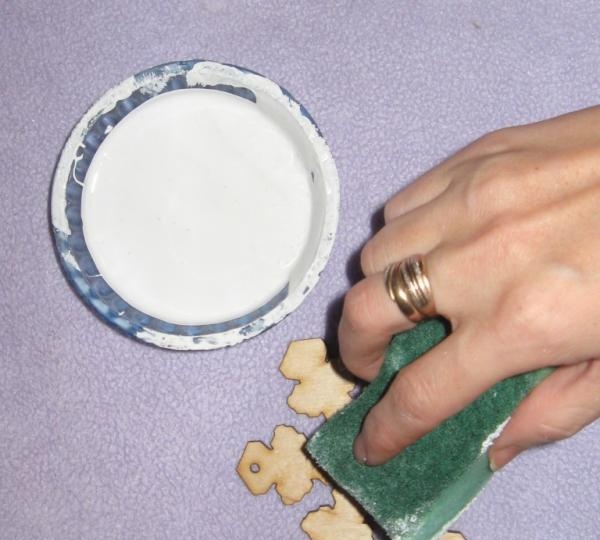
We leave the snowflake to dry for about an hour. Then we apply the second layer of white paint, we already leave for an hour and a half.
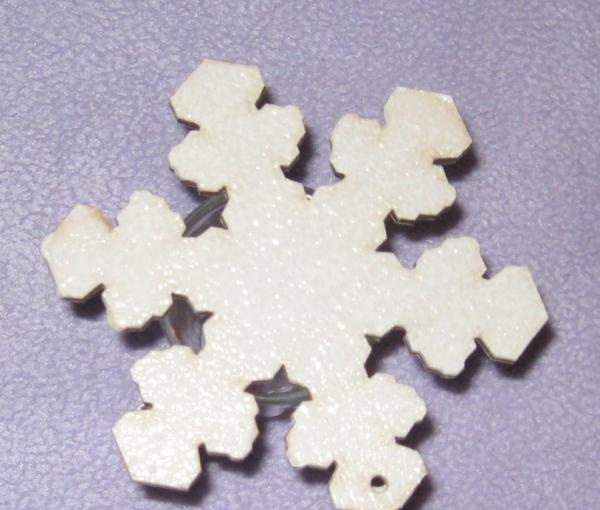
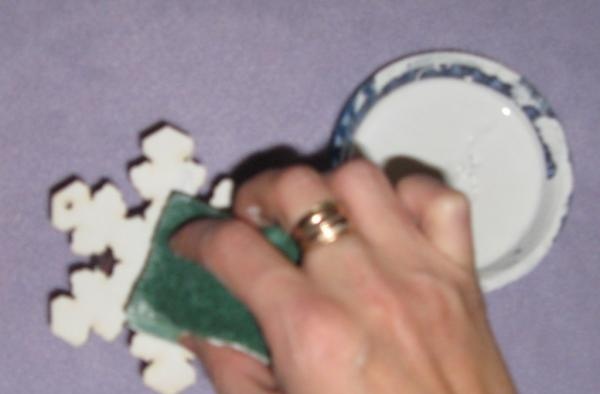
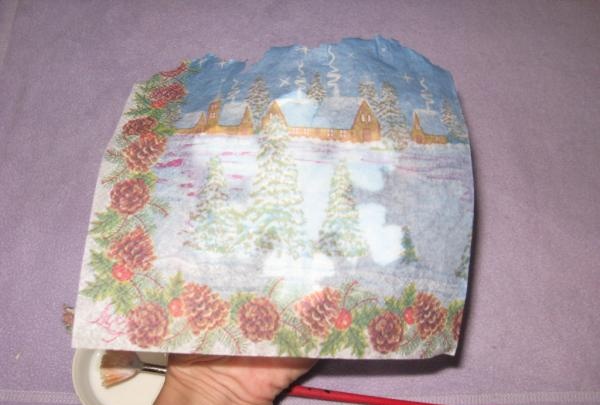
While one side of the snowflake dries, prepare a napkin. We unfold it, cut off the neatly needed drawings.
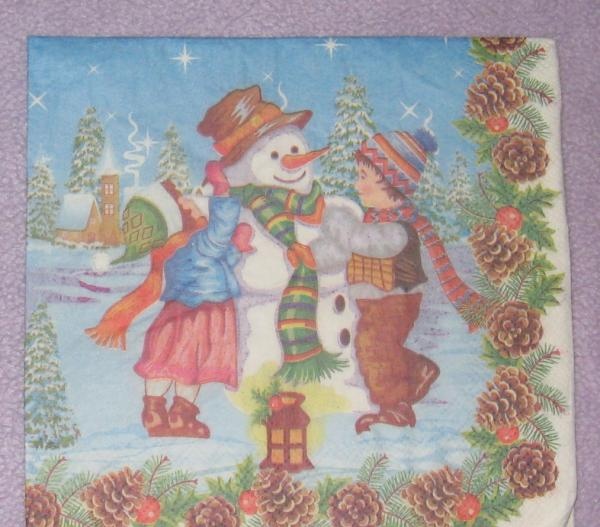
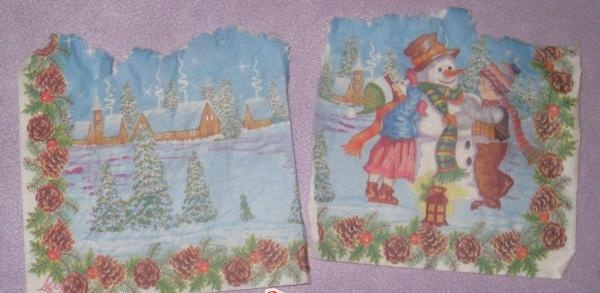
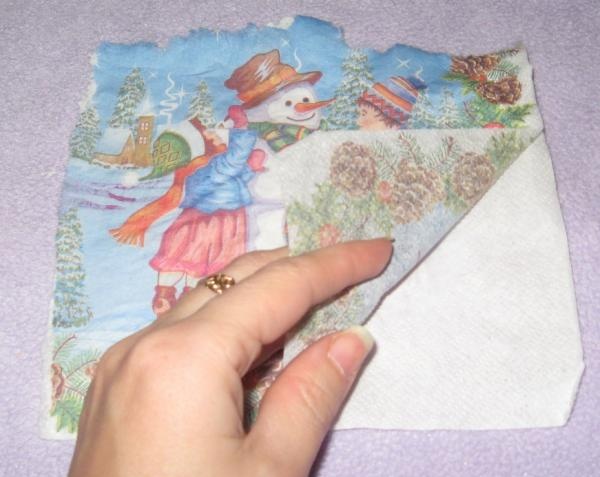
From both parts, remove the topmost layer. Drawings for decoration are ready.
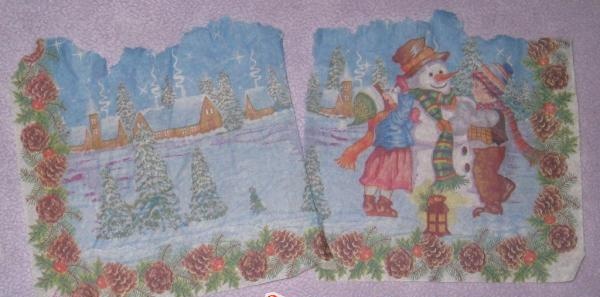
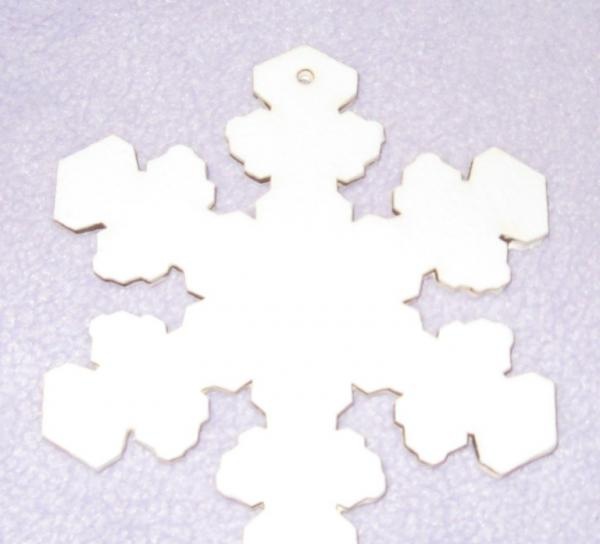
Now paint the reverse side of the snowflake with two layers of paint with a gap for drying. The snowflake is dry, you can begin to design. Overlay the image on one side. We dilute PVA glue with water in the same container in equal proportions, mix well.
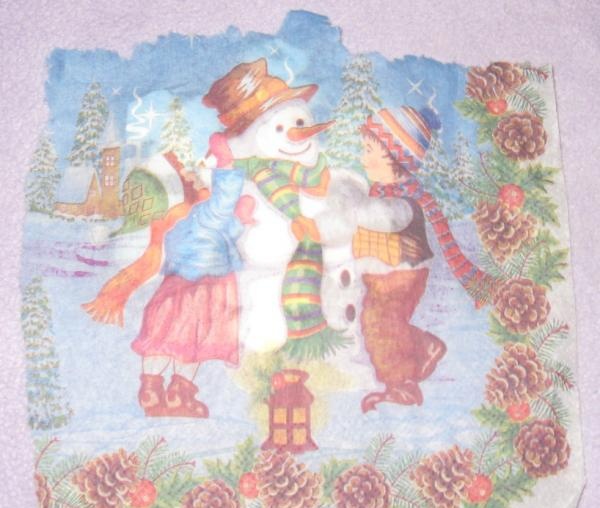
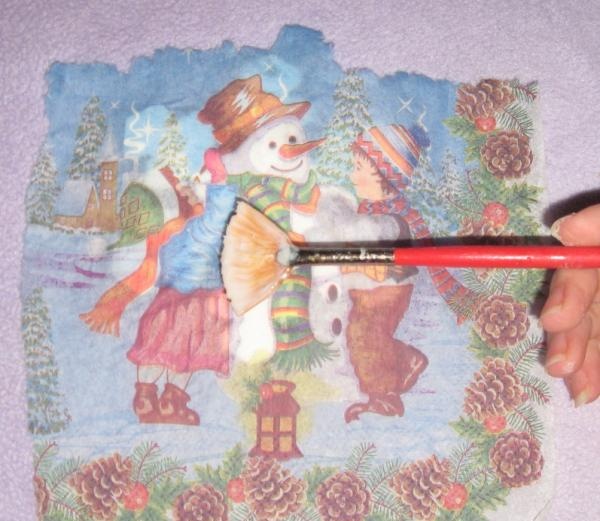
We take a brush for decoupage, dip a brush into the glue and, starting from the middle, glue a napkin on a snowflake. The edges are carefully cut off and well smeared with a brush along the edges of the toy. We leave the snowflake for two hours to dry.
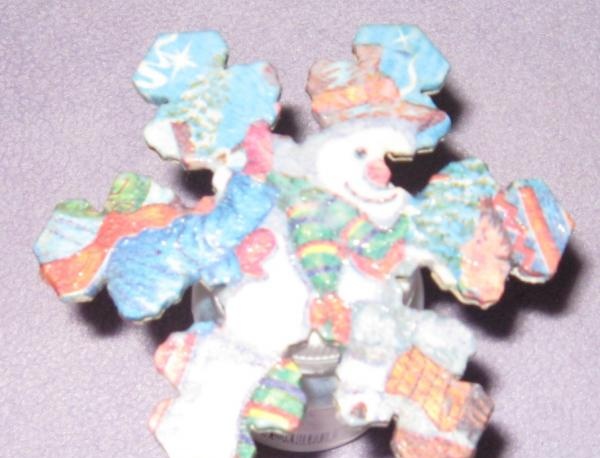
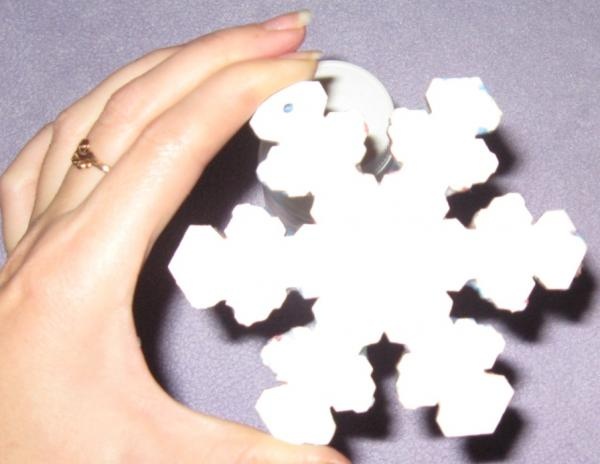
Turn the snowflake over and decorate the other side now.
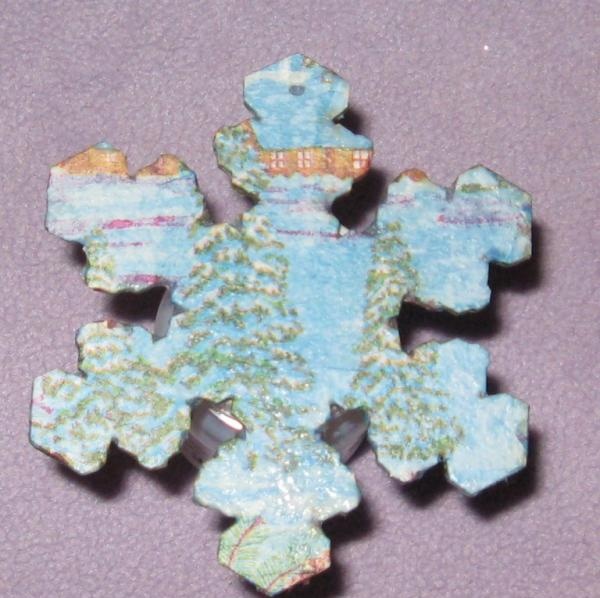
Also close up the edges and grease the ribs, also leave for two hours. When the snowflake is completely covered with a layer of acrylic varnish, let it dry and again a layer of varnish. So somewhere on both sides 3-4 layers of varnish. And we paint the ribs with golden acrylic paint using a thin artificial brush.
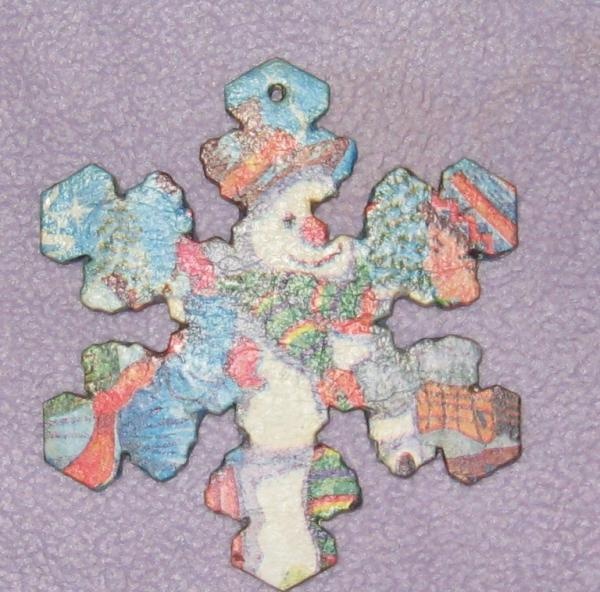
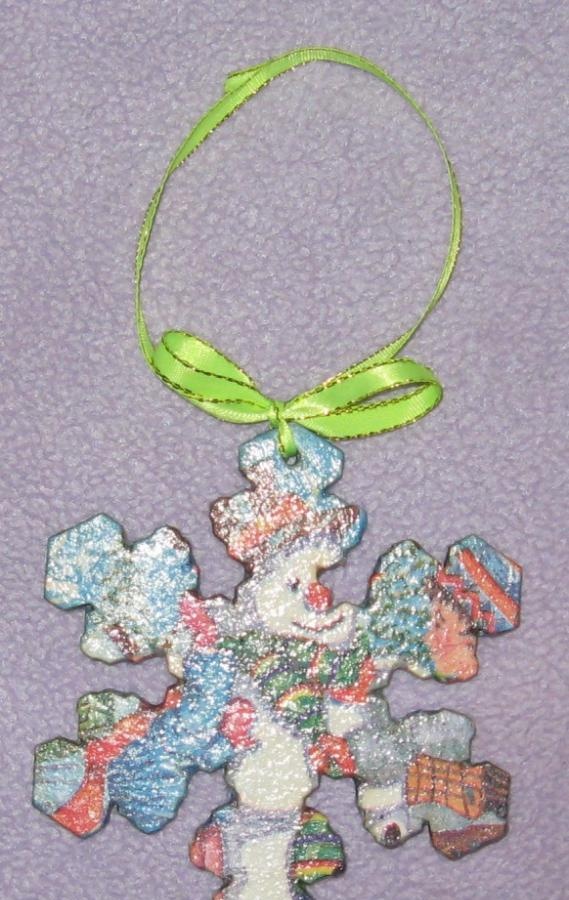
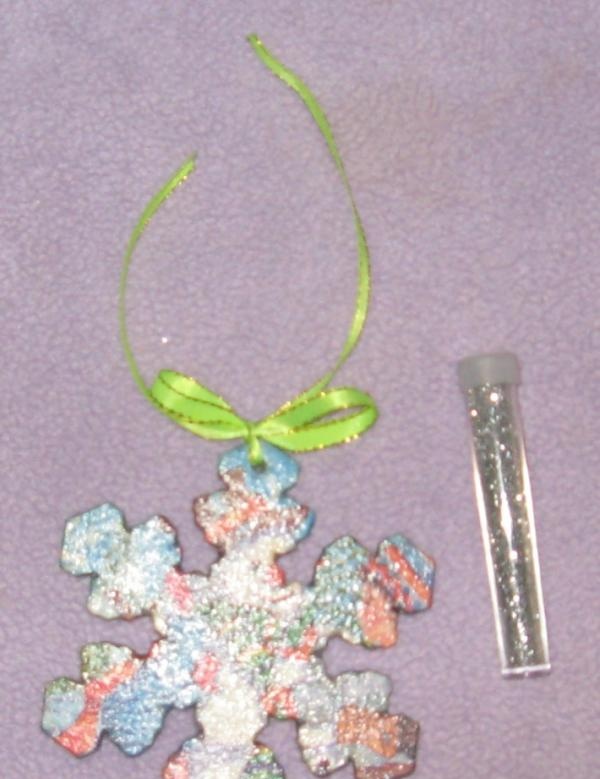
When the very last layer of varnish has not yet dried, sprinkle with dry spangles, and when the surface is completely dry, apply dots with liquid spangles.
Christmas tree toy is ready! Thank you all and good luck in your work!
