Do it yourself
Life hacks, master classes, useful tips, recipes.
home » Handicraft techniques » Knitting » Knitting patterns » Crochet snowflakes
A knitted snowflake will take its rightful place in the New Year's interior of any apartment. It can be hung under a chandelier or on a window, or used as a Christmas tree decoration. Any needlewoman can knit a snowflake. Even if this is your first time picking up a hook, you will definitely be able to create such a delightful snowflake. Follow the detailed instructions and stick to a fairly simple knitting pattern. Good luck to you.

Legend:
Air loop - v.p.
Double crochet - st s/n.
Single crochet - st b/n.

snowflake diagram


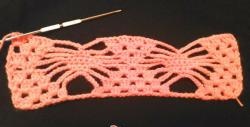
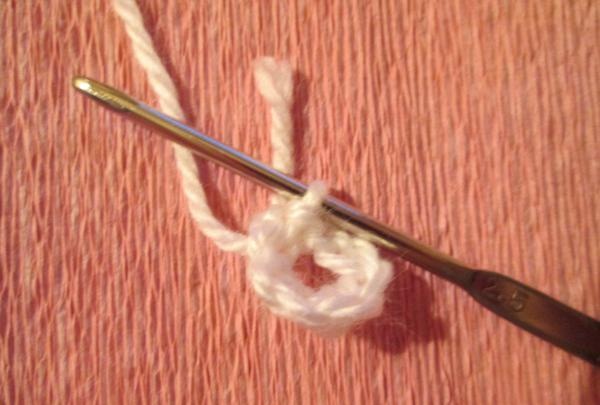
1. Knit a chain of 6 chain stitches.

Tie a chain


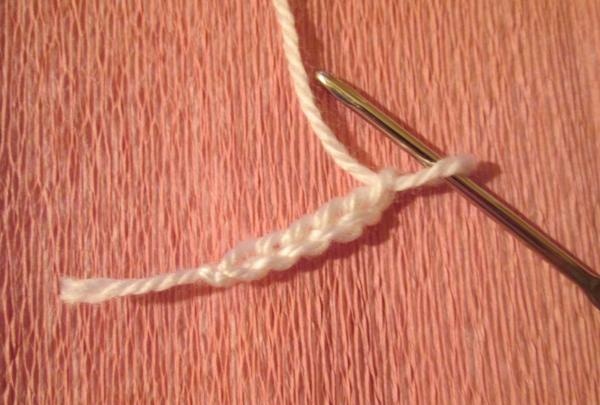
2. Connect into a ring.

Connect into a ring


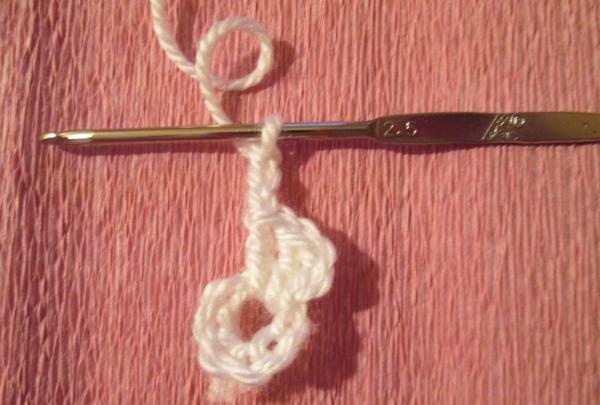
3. Next you need to make 2 lifting loops and knit 2 treble stitches.

make 2 loops


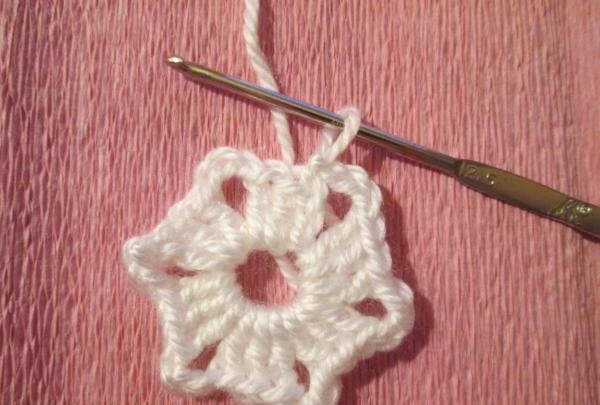
4. Then we repeat this combination. 3 v.p. and 3 tbsp s/n. Until you get a flower like this.

here's a flower


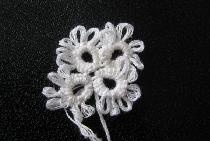
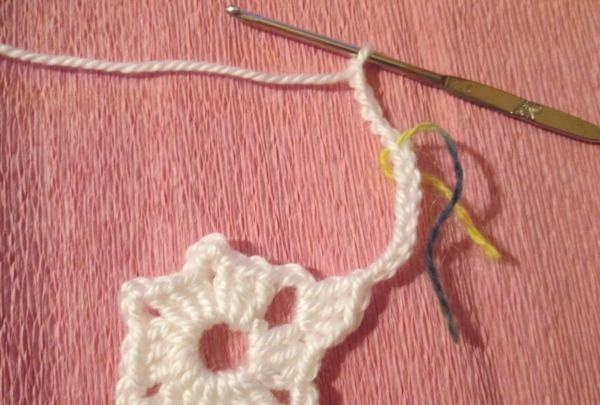
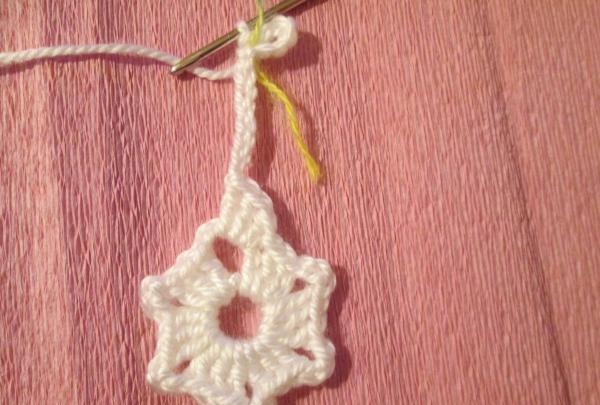
5. We knit 3 treble stitches into the arch from the air loops of the previous row. Next you need to make a chain of 8 ch. To avoid confusion, pass the colored thread through here. This way you will mark the place where you will need to connect the chain.

We knit


6. Make another 6 ch. and connect it exactly to the loop that we marked with a colored mark.

Let's do 6 more


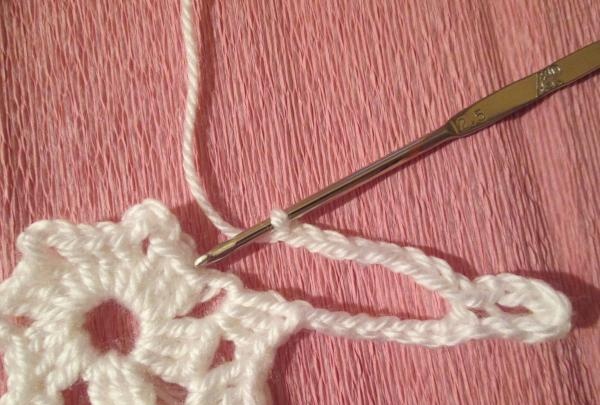
7. Knit 7 ch. and finish 3 st s/n in the same arch.Repeat until the end of the circle.

Knitting


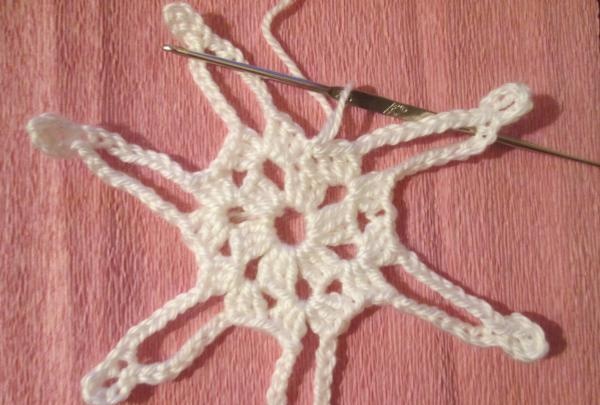
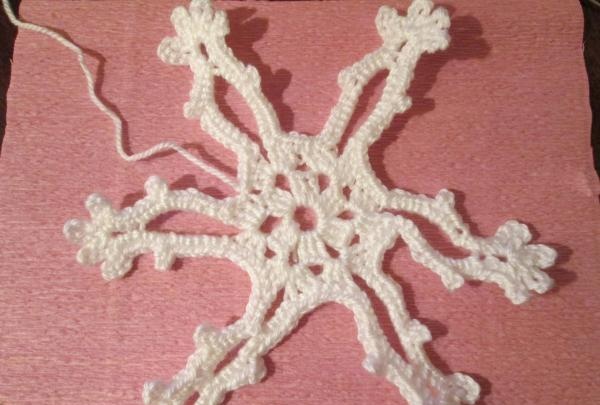
8. The result is a star like this.

it turns out to be such a star


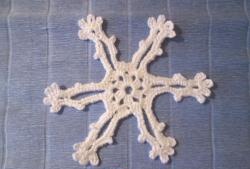
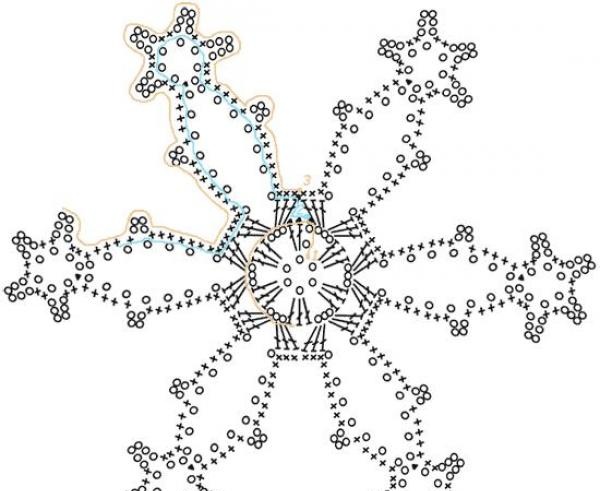
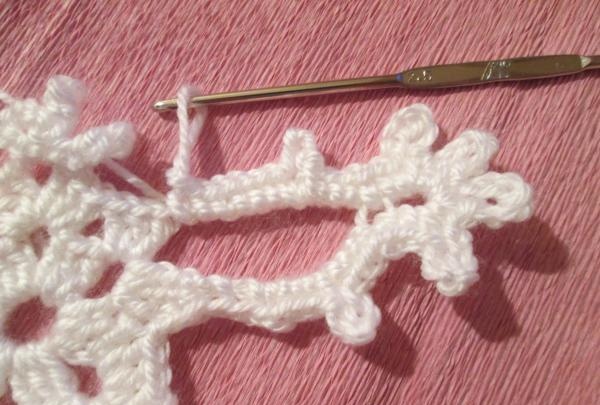
9. Make 3 tbsp. Next, according to the pattern, we tie each ray of the snowflake. We knit 7 tbsp and 4 vp. then 5 tbsp. Let's continue knitting already in the loop, make 2 dc and 6 ch. Repeat until you have four petals. Then we knit 5 tbsp and 4 ch. we graduate from 7th century b/n. In this way we tie each of the six rays.

tie each ray of snowflakes


10. Finish knitting and hide the thread.

hide the thread


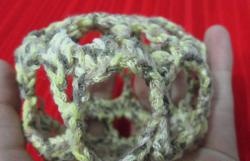
11. It turns out like this snowflake.

Master class on crocheting snowflakes


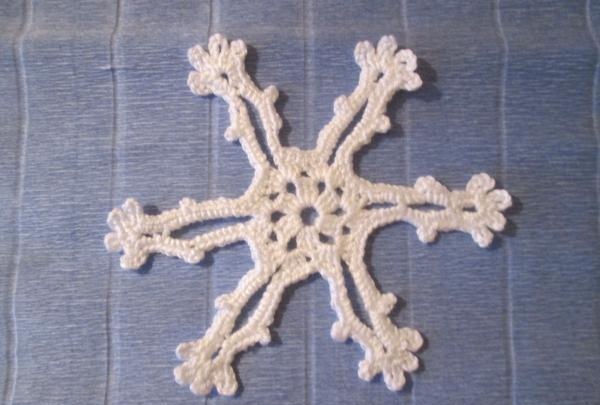
In order for the snowflake to keep its shape, it can be starched or secured with concentrated sugar syrup. Alternatively, you can use diluted PVA glue.
come back
Comment
  • bowtiesmilelaughingblushsmileyrelaxed relaxedsmirk
    heart_eyeskissing_heartkissing_closed_eyesflushedrelievedsatisfiedgrin
    winkstuck_out_tongue_winking_eyestuck_out_tongue_closed_eyesgrinningkissingstuck_out_tonguesleeping
    worriedfrowninganguishedopen_mouthgrimacingconfusedhushed
    expressionlessunamusedsweat_smilesweatdisappointed_relievedwearypassive
    disappointedconfoundedfearfulcold_sweatperseverecrysob
    joyastonishedscreamtired_faceangryragetriumph
    sleepyyummasksunglassesdizzy_faceimpsmiling_imp
    neutral_faceno_mouthinnocent
3+three=
Comments (0)

How to make a resistor at home with your own hands

Laying the site with sandstone | Do it yourself

How to smoke mackerel in an apartment on a regular stove

Nippers from broken pliers

«Do it yourself - with your own hands» - a site of interesting homemade products made from scrap materials and items at home. Step-by-step master classes with photos and descriptions, technologies, life hacks - everything a real master or just a craftsman needs for needlework. Crafts of any complexity, a large selection of directions and ideas for creativity.

We recommend reading

Washing machine error codes