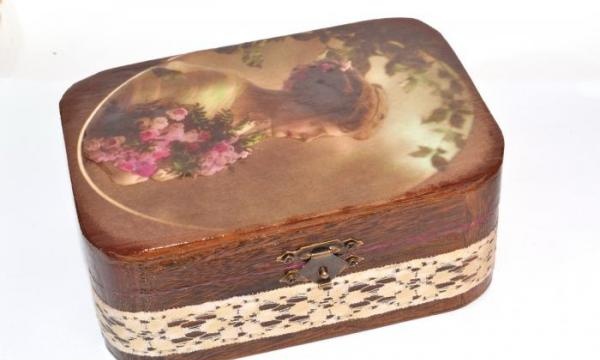
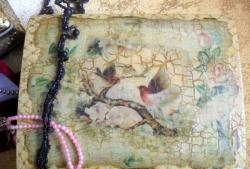
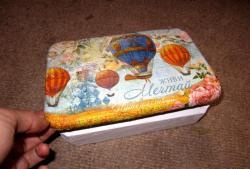
So, let's try to make a vintage style box. Such a thing will look very impressive on a lady's table, and besides, it is very convenient for storing jewelry.
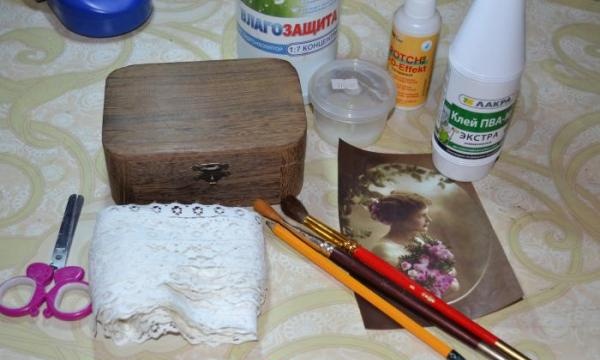
For work we will need:
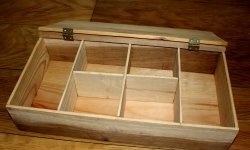
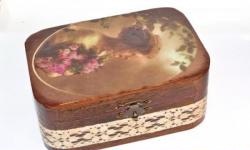
1. Wooden box blank. It is better to choose a box made of dark wood so that it immediately looks “more vintage”.
2. Primer.
3. PVA glue, scissors, pencil, brushes, sponge.
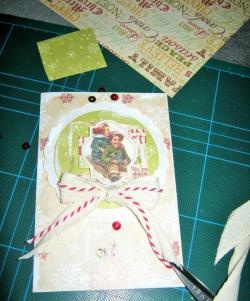
4. Decoupage card with a suitable image. For this master class, a decoupage card with an old postcard was chosen.
5. White lace.
6. Acrylic paints.
7. 3D Pitch.
8. Acrylic varnish.
Now that everything is ready, we can begin the fun part. Let's start decorating the box.
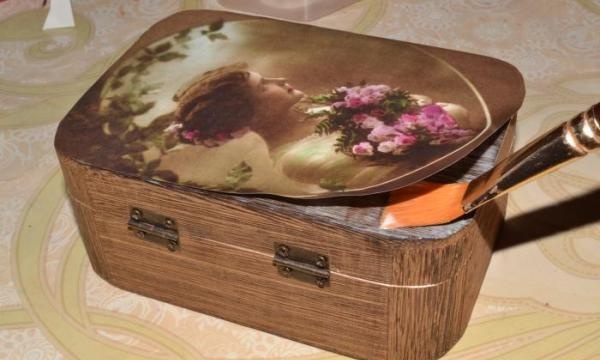
First stage. First of all, we need to fit the decoupage card to the lid of the box.To do this, turn the card over, place the box on it with the lid down and trace it along the outline. We cut and adjust again if necessary.
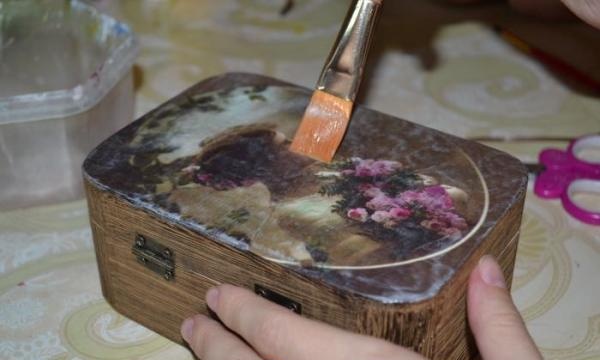
Once the image for the lid is ready, you can begin applying it. To do this, pour a little PVA glue into some container, take a flat brush and coat the lid of the box with glue. Then we carefully apply the decoupage card, while simultaneously smearing it with glue on top. It's okay if white streaks from the glue are visible - PVA tends to become transparent when it dries.
We try to glue the card carefully so that there are no air bubbles or folds. If they appear, carefully lift the card by pulling the dry edge and re-coat the problem areas with glue. Let the lid dry and begin working on the bottom of the box.
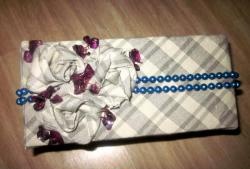
Second phase. It was decided to decorate the bottom of the box with lace. Measure the required length and cut off a strip of lace.
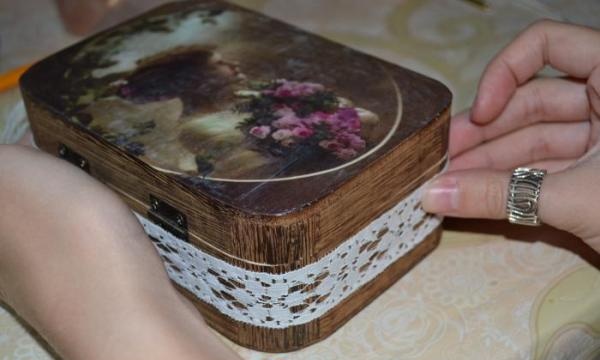
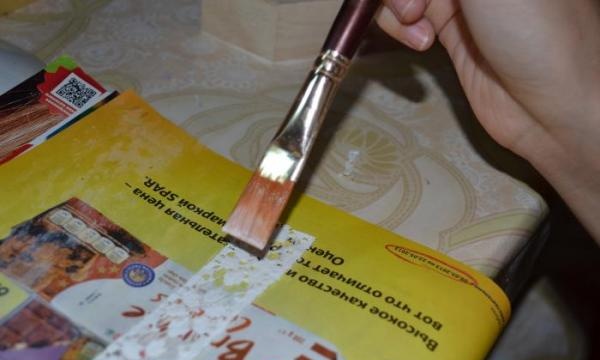
So that the lace doesn’t look so new and white (after all, we have a vintage-style box), let’s try to age it a little. To do this, take acrylic paints and paint a dirty beige color on the back of the ceramic plate, matching the lightest color on the lid of the box. Place the lace on an old newspaper or magazine so as not to stain the table. Dip a sponge into the resulting paint and apply it to the lace. We apply until we achieve the desired darkening effect over time. Now the lace doesn't look so new anymore.

Let's wait until the laces are dry, turn them over and coat them with PVA glue. And then carefully glue it to the bottom of the box and leave it to dry.
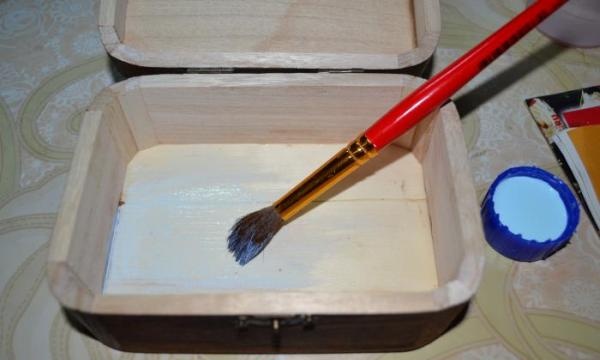
Third stage. Now you can work on the inside of the box.First, prime the entire surface so that the paint adheres better, and let the primer dry.
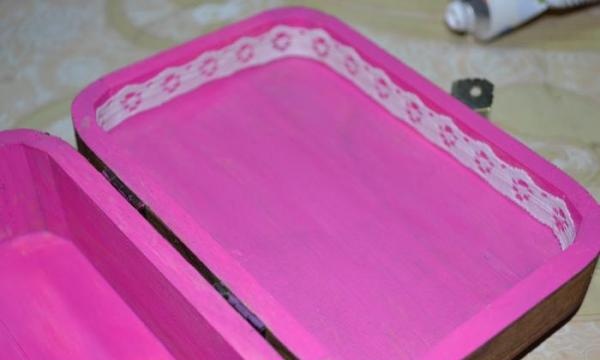
Then we’ll paint the inside in some contrasting color so that the box doesn’t look so gloomy. In this master class, it was decided to paint the inside of the box pink, which harmonizes with the bouquet of flowers in the hands of the girl on the lid. Again, stir the appropriate color on the back of the plate and paint the inside of the box. Waiting for it to dry.
To make the inside of the box harmonize with the outside, it can also be decorated with lace. We cut off a thinner strip of lace and glue it to the lid of the box from the inside in the same way.
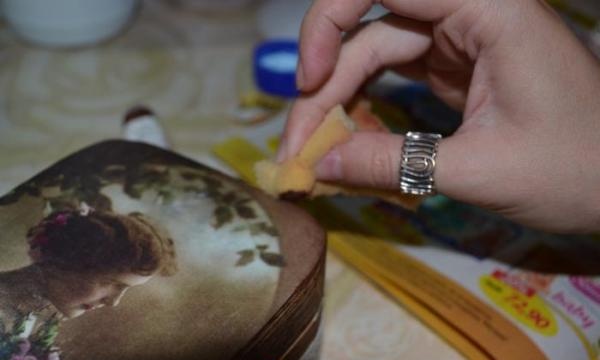
Fourth stage. We return to the lid again. So that the decoupage card is not so conspicuous, but smoothly blends into the tone of the box, we dilute brown paint and apply it with a sponge along the edges of the lid.
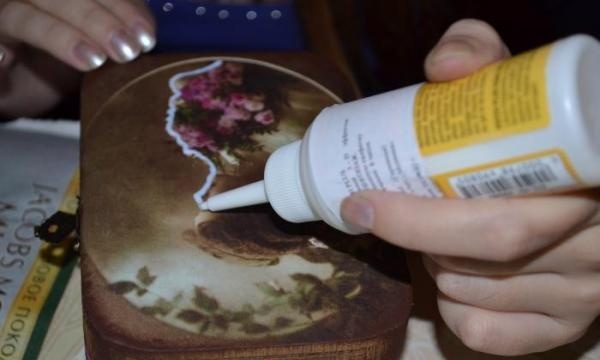
And to “revive” the girl and give the image volume, we use a 3D image. We take the tube and carefully trace the image, first along the contour, then next to the contour, and so we continue to trace again and again until the image is completely filled.
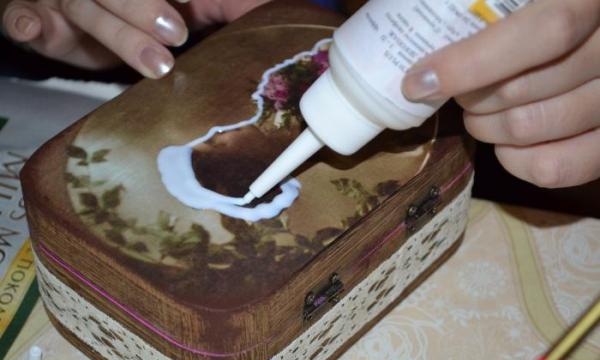
Let the potch dry. This takes quite a long time, so it is best to leave the box overnight. When the potch dries, the image will again become completely transparent, only now in volume.
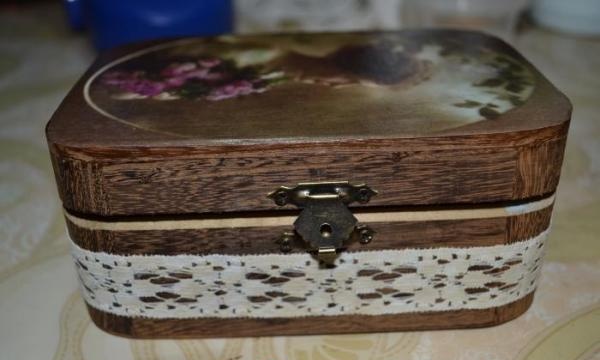
Fifth stage. The last thing we need to do is coat the finished box with acrylic varnish. We cover both the outside and the inside, in two layers, with an interval of 20-30 minutes, and wait for complete drying, which takes about a day.
After this, the box can be safely used to store vintage jewelry and more.