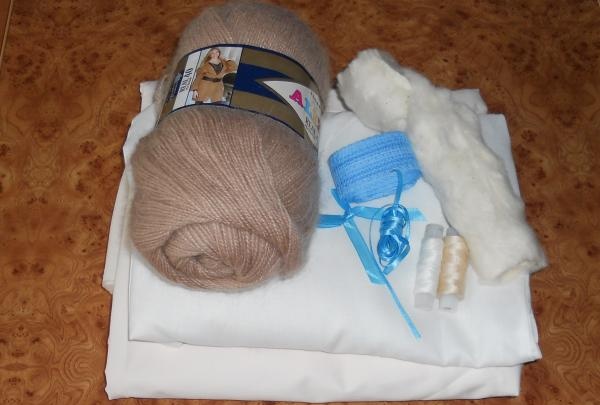
This master class will describe the process of making a simple tilde doll. To do this you need to take the following materials:
- fabric for the body (beige, peach or beige-peach shades);
- fabric for clothing (you can use several fabrics that are consistent in color or pattern);
- threads to match the fabric for clothes and fabric for the doll’s body;
- satin ribbons of different widths;
- lace;
- woolen threads (any) for hair;
- material for filling the doll's body.
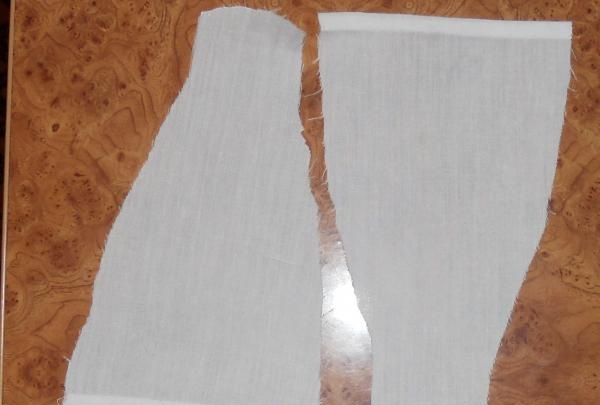
First you need to draw the outlines of the doll’s body parts on the newspaper, cut them out and transfer them to the base fabric. There should be four parts for the legs and arms, two parts for the torso.
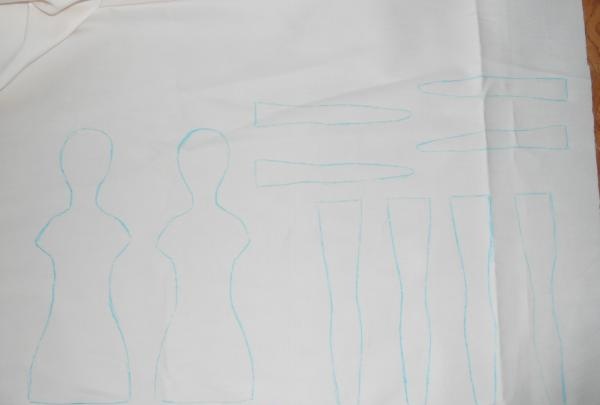
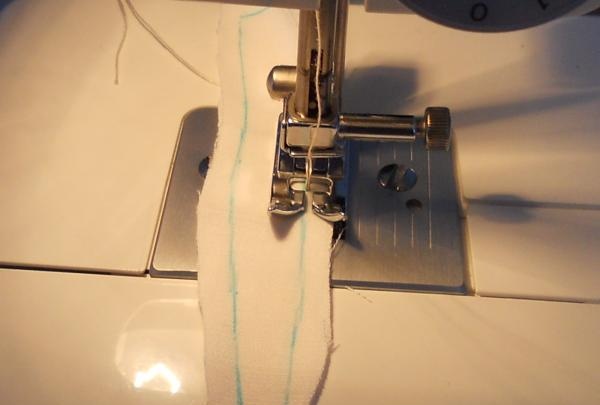
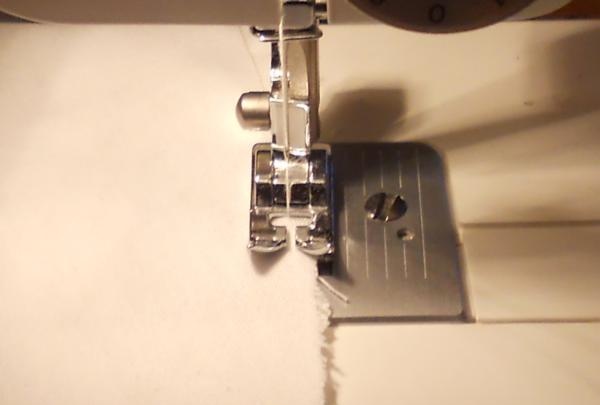
Cut out the parts so that there is a distance of 3-5 millimeters from the outline. Fold the pieces in pairs and machine stitch the smallest stitch along the wrong side.
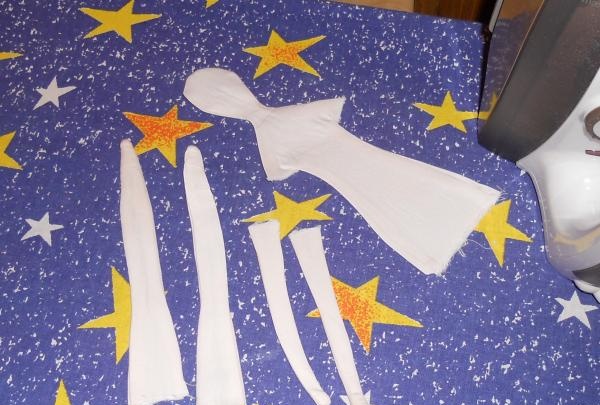
After this, the stitched parts need to be turned from the inside out to the front side and steamed well with an iron.
The next stage is stuffing the parts with filler. You need to stuff tightly, but at the same time “massage” the parts so that there are no tubercles. Usually, stuffing thin legs and arms is quite problematic. An ordinary Chinese chopstick or a Japanese hairpin can help in this situation.
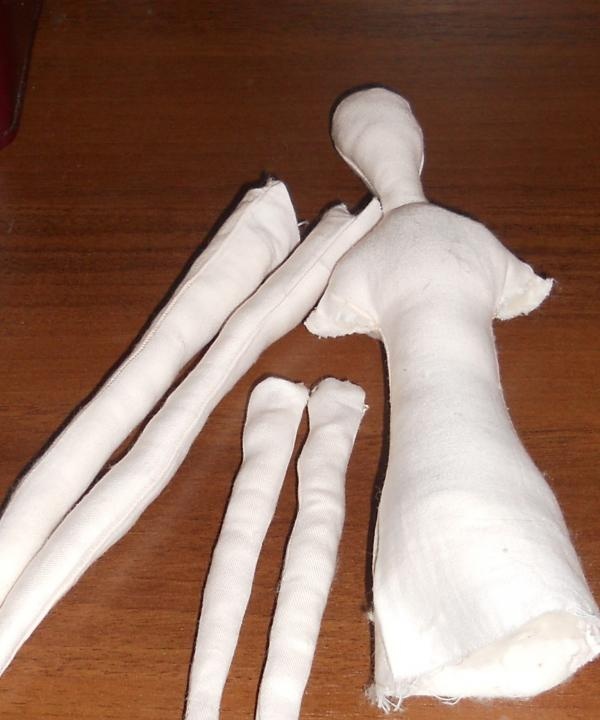
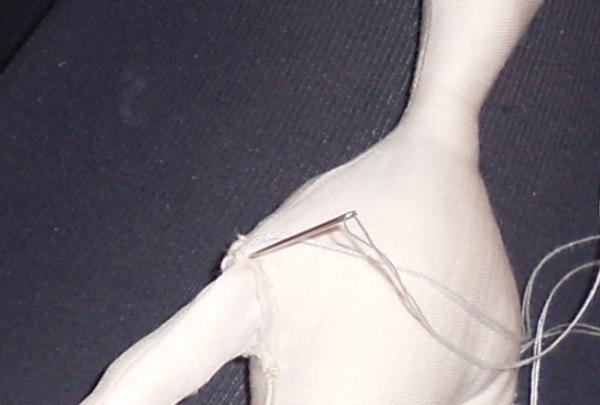
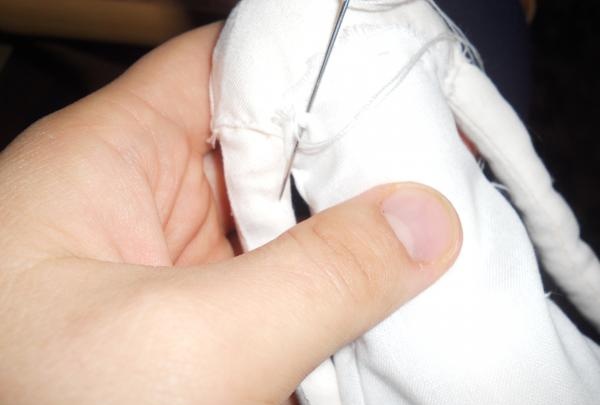
Then the arms and legs are sewn to the body.
Next you need to sew the dress. The pattern should also be transferred from the newspaper to the fabric and cut out with a 5 mm indentation from the markings.
It is along the markings on the inside of the dress that you need to go through the sewing machine. It is also necessary to overcast the bottom of the dress.
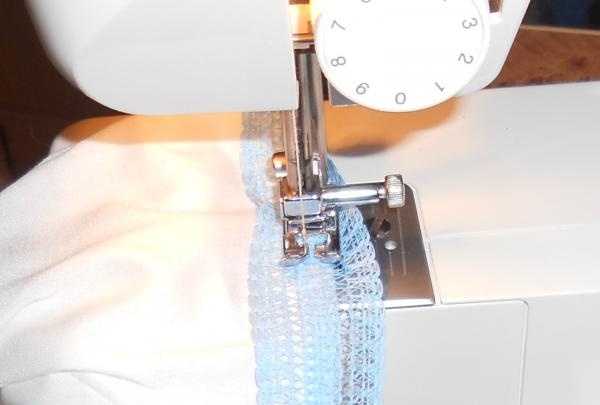
You need to sew lace along the bottom of the dress.
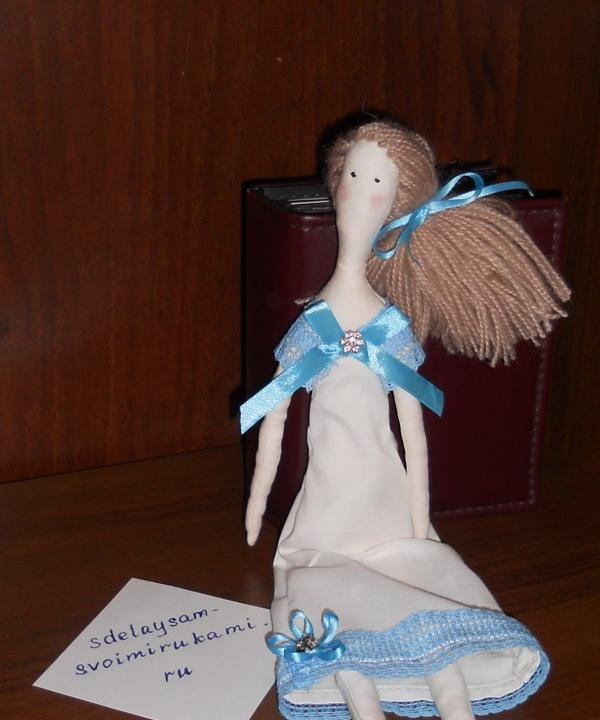
Then the dress is put on the doll and sewn along the bodice to the body.
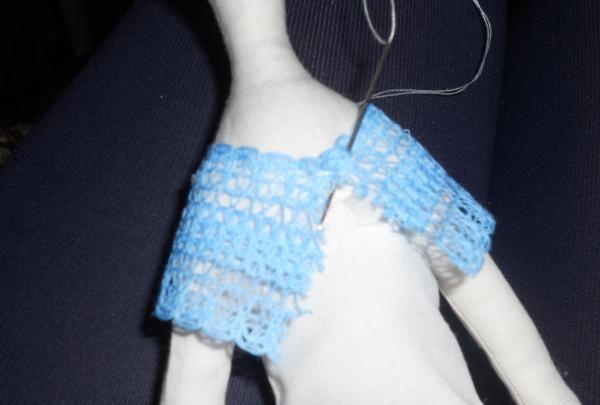
On top, a cape-collar is made from the same lace as on the hem.
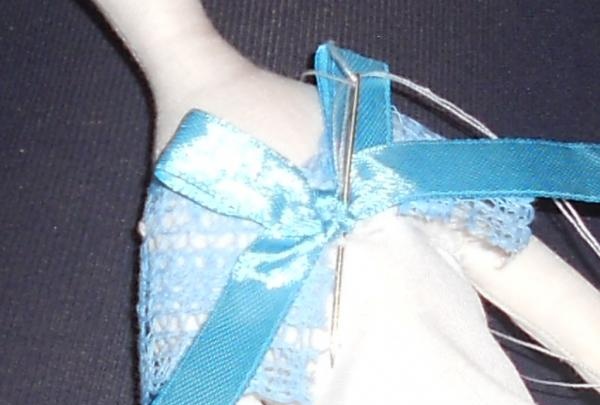
A bow made of a wide satin ribbon is attached to the place where the edges of the collar are fastened. A decoration made of beads or stones is attached to the glue on top of the bow.
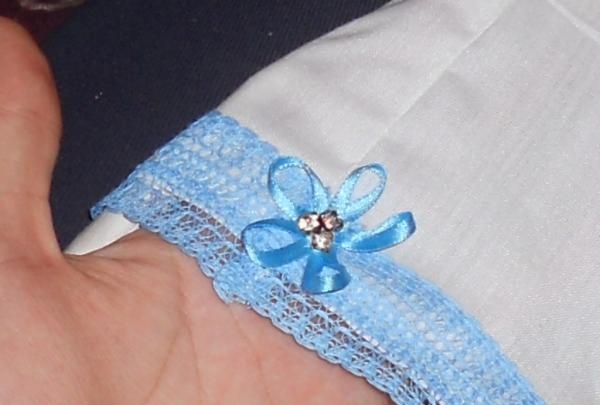
A decoration made of a thin satin ribbon folded in the shape of a flower with beads or stones in the center is sewn onto the bottom of the dress over the lace.
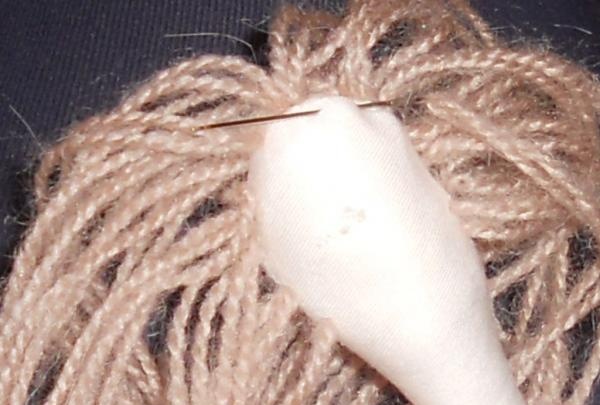
Then you need to do the doll's hair. Woolen threads are threaded through the fabric of Tilda's head. You need to start with the frontal and temporal parts, gradually moving to the back of the head.
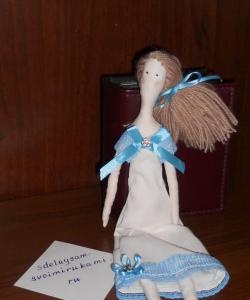
The final touch is the face and hairstyle. The “hair” is formed into a ponytail and secured with a thin satin ribbon tied in the form of a bow. The eyes are made from small beads, and a light blush is applied to the cheeks using a cotton swab.
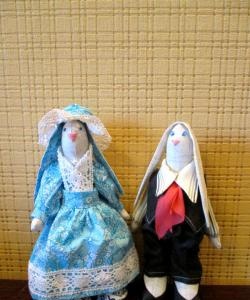
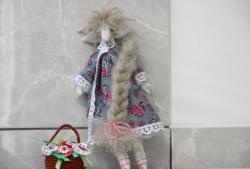
The doll is ready.