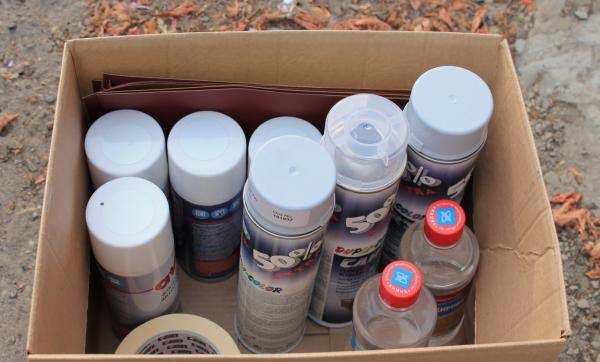
We will need:
1. White alkyd auto enamel - 2 bottles.
2. Soil - 1 cylinder.
3. Transparent protective varnish - 1 bottle.
4. Putty - 1 can.
5. Masking tape.
6. Sandpaper.
7. Degreaser - 0.5 l.
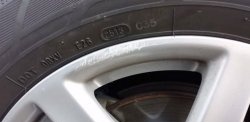
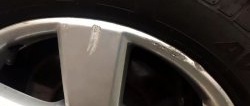
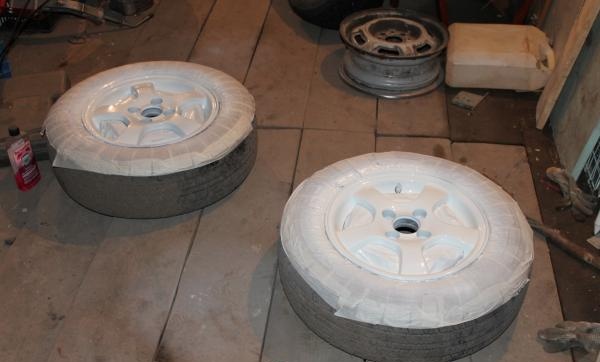
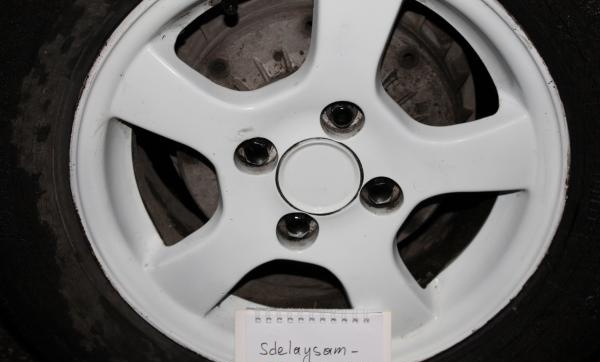
First, you need to wash the discs, then remove the old paint down to the metal and cover the surfaces that are not to be painted with masking tape.
Before painting, be sure to degrease the surface of the disc. Otherwise, the paint will not last long.
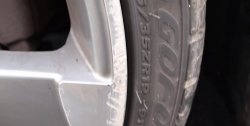
If the disc is “well-worn”, you need to smooth out all the chips and dents using putty and wait for it to dry completely.
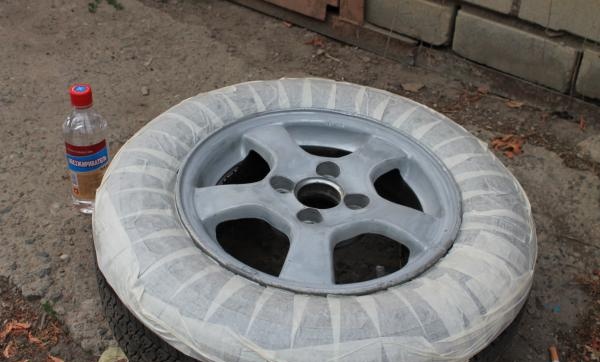
After leveling out the imperfections, place the first layer of soil.
Apply primer to all discs in two layers with a break of 15-20 minutes between layers. Particular attention should be paid to corners and folds, because upon detailed inspection there may be unprimed areas there.
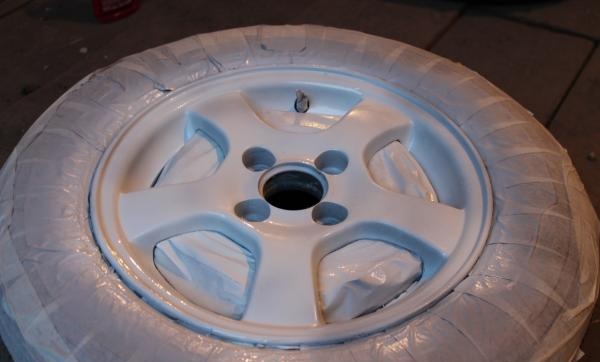
When the second layer of primer has dried (15-20 minutes), apply white enamel.
It is important to paint indoors with a minimum amount of dust and insects, since everything sticks to fresh paint and you have to repaint it.
We apply the enamel in three layers, with a drying break between layers of 10 minutes in a warm garage (25-30 degrees).
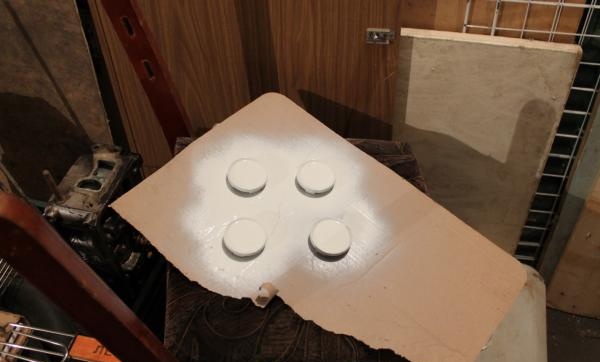
While drying the wheels, we perform the same actions (washing-sanding-degreasing-primer-enamel) with the hub caps.
It is important to observe intervals and under no circumstances rush: if at least one of the layers does not dry properly, all the work has been done in vain.
After the enamel has dried, we complete the painting stage with a protective transparent varnish.
We do the first layer carefully and superficially. After 15 minutes the varnish no longer sticks - you can continue. The second layer is more thorough. We also varnish the caps.
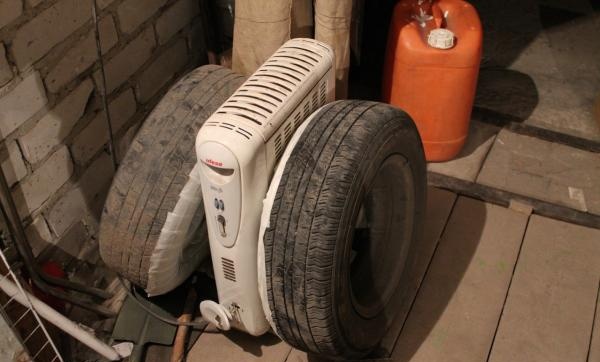
To speed up the process, you can use heating elements, but do not overuse them.
Important: removing the masking tape and installing the wheels on the car can only be done after the varnish has completely dried (according to the instructions on the can).
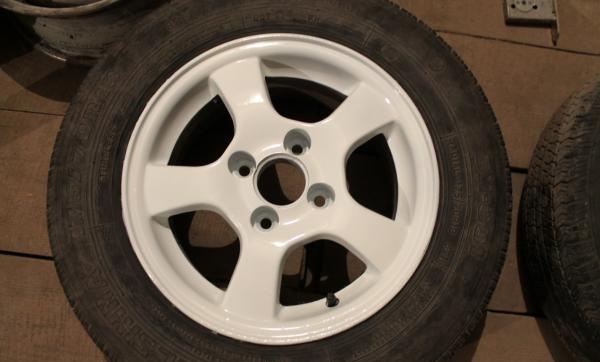
We get the following result:

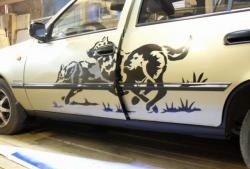
And this is what the “new” wheels look like on the car:
If the technology is followed, the paint will last two to three years.
This is how you can get new wheels with some effort and a day in the garage. Happy implementation!