So let's get started.
We will make a hairband with an elastic band.
To work you will need:
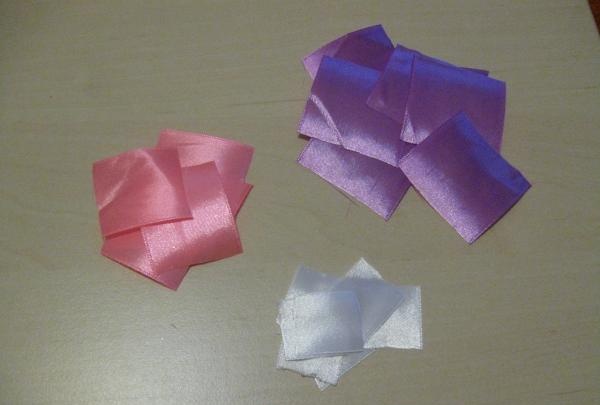
1. 3 ribbons of different colors and widths. Purple - 6 cm, pink - 4 cm, white - 2 cm. The color scheme can be any other, even monochromatic - to your taste.
2. Glue. I use a pistol, but you can also use PVA or the Crystal moment.
3. Scissors.
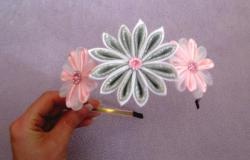
4. Soldering iron, lighter or candle to connect and singe the edges.
5. Decorative elements.
6. Elastic band.
7. Needles and thread to assemble the flower.

Step 1:
Cut each ribbon into squares. The widest – 6 pieces 6*6, medium – 5 pieces 4*4, small – 6 pieces 2*2.
Step 2:
Let's start preparing the petals.
Take a square from a 6*6 tape and bend it into a triangle.
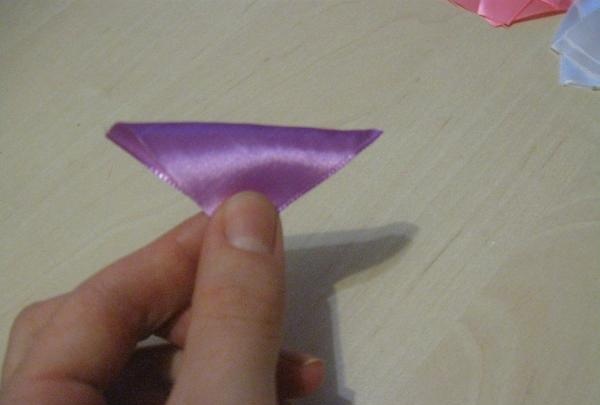
Turn the triangle over at a right angle downward and connect the 2 edges to the bottom corner. It turns out to be a rhombus. We turn the side corners of the rhombus back and connect them with a needle.
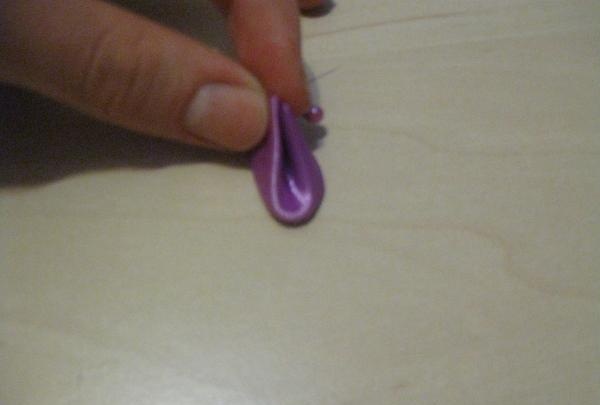
We cut off the excess and singe it, pressing the edges. It turns out to be a petal.
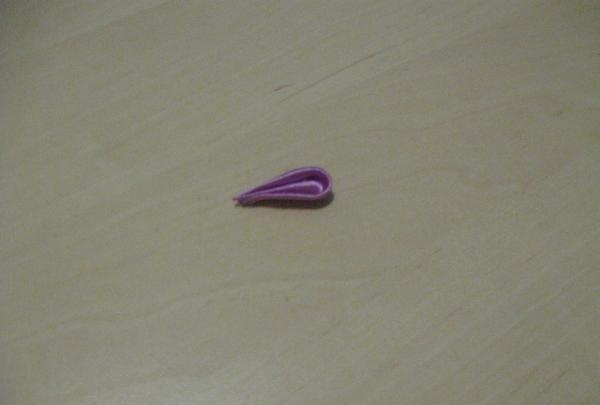
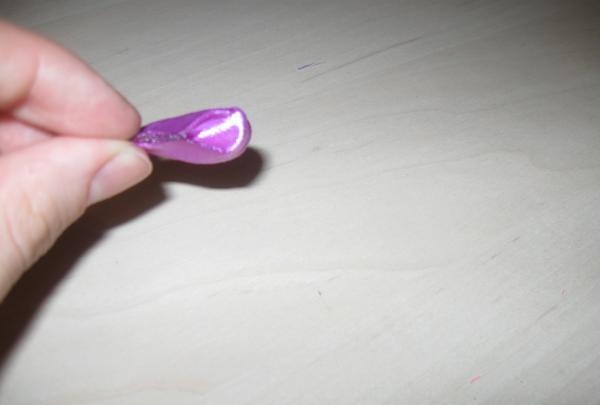
We do the same with the remaining petals measuring 6*6.
Step 3:
Now you need to make “sharp” petals.
Fold the square of 4*4 tape in half to form a triangle.

We repeat a second time.
Connect the bottom corners. We cut off the excess, singe it, glue it together.
We do the same with small 2*2 squares.
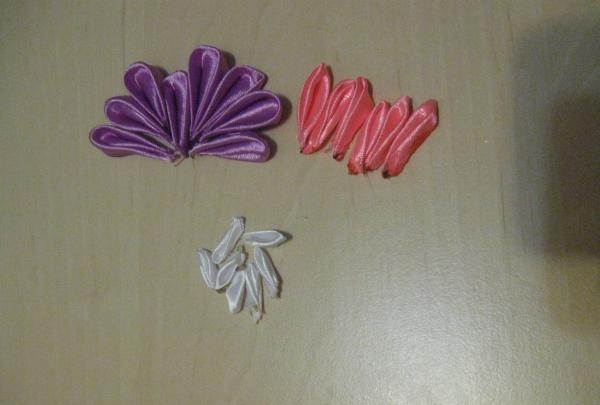
These are the blanks you get.
Step 4:
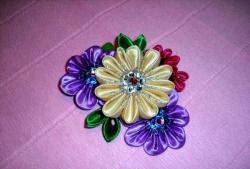
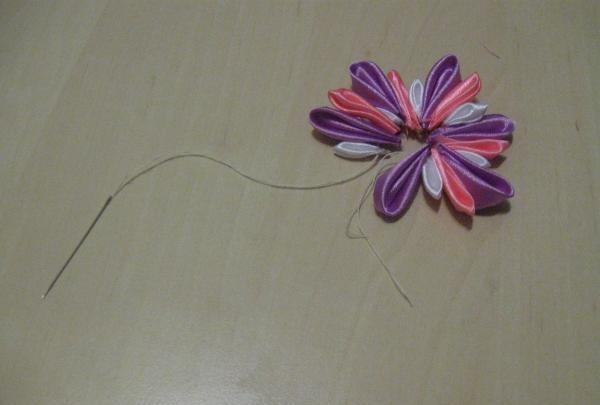
We collect the petals in any order you like. I alternated as follows: large, small, medium. We string the pieces onto a thread and tighten them into a ring.
Step 5:
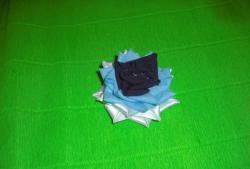
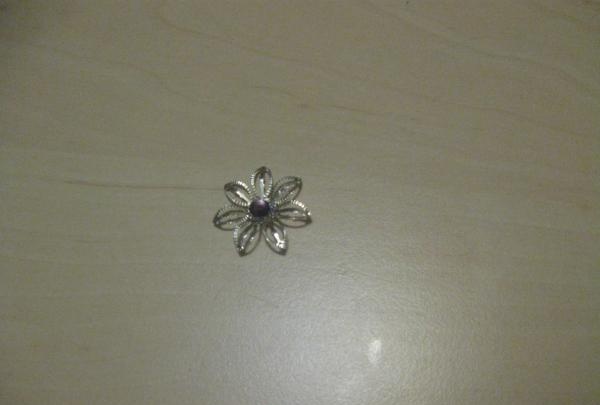
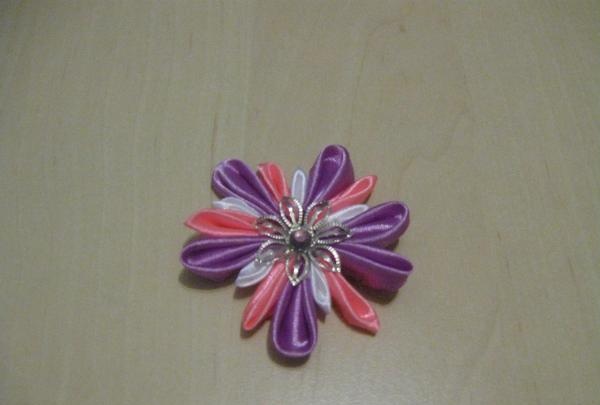
We decorate the middle with rhinestone and attach it to the flower.
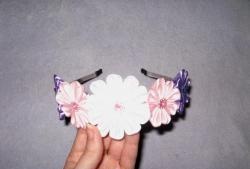
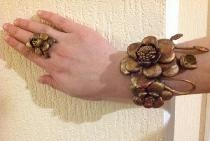
Glue the finished flower to the rim.
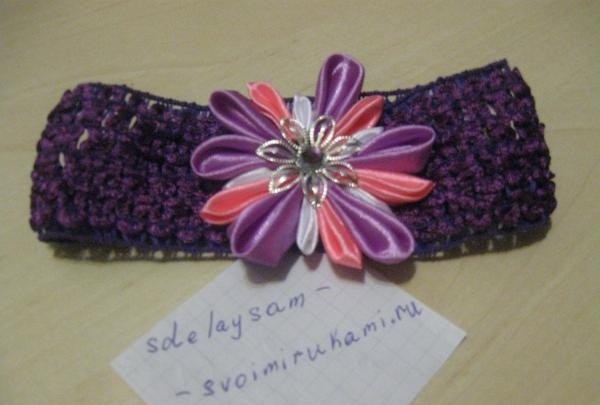
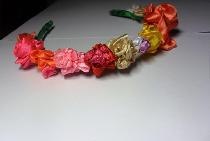
This is how it works.
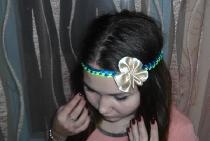
A DIY headband, hair clip or hair tie is great. present on holiday. Using the kazansha technique, you can decorate various wardrobe items - children's clothes, hats, bags and much more. Get creative with colors, flower arrangements, decor and create unique jewelry for yourself and your friends!